

They say that necessity is the mother of invention and that
certainly turned out to be the case here. I have a bumper crop of tomatoes this
season, and decided I was going to make myself a tomato pie. I went to all of
the effort to make a crust, and then something went wrong during the blind
baking process. I carefully lined my crust with foil (like you do), and put my
pie weights on top, baking as I normally would. Only not quite so normally,
when I went to remove the foil and weights, the bottom of the crust came with
it; so much for that idea.
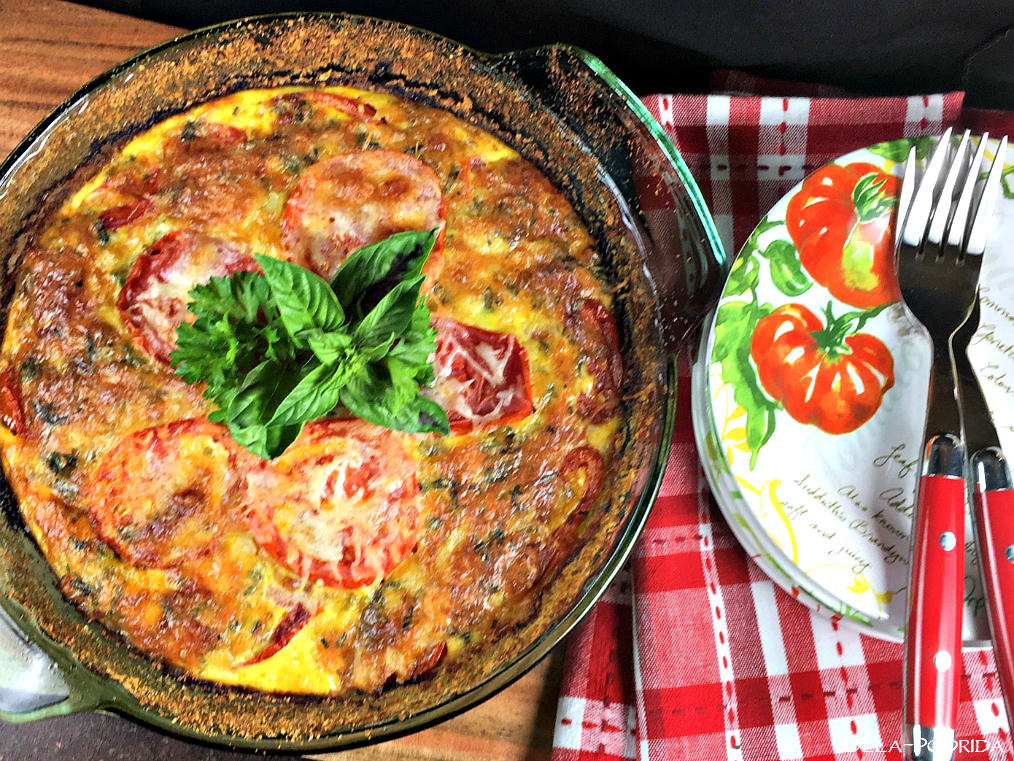
So, instead, I decided to treat my tomato pie as I would a
crustless quiche, and line the pan with softened butter and crumbs. It turned
out to be beautiful, incredibly delicious, and half of the calories I had
expected it to be.

Crustless Tomato Cheese Pie
3 large tomatoes (about 2 pounds), sliced ¼” thick
¾ t. kosher salt, divided
½ T. butter, room temperature
¼ c. Italian breadcrumbs
½ T. butter
½ c. chopped Melissa’s shallots
2 c. grated sharp cheddar cheese
½ c. chopped fresh herbs (basil, oregano, parsley, chives, etc.)
½ t. hot sauce
½ t. freshly ground black pepper
2 extra large eggs
Preheat oven to 300°F. Place tomato slices on paper towels and sprinkle with ½ t. salt. Allow them to drain while oven is preheating. Line a rimmed baking sheet with parchment, and place tomato slices on top. Bake for about 40 minutes, checking occasionally, until they start to pucker.
While tomatoes are baking, butter a 9-inch pie pan with unsalted butter, and sprinkle with breadcrumbs. Rotate pan to ensure all greased areas are covered with the crumbs; set aside.
Meanwhile, heat a small skillet over medium heat. Melt butter and add shallots and remaining ¼ t. salt. Cook, stirring occasionally, until shallots have softened and are just starting to brown, 5 to 8 minutes. Remove from heat and let cool.
In a medium bowl, beat eggs until frothy. Stir in cheese, herbs, hot sauce, and pepper until combined. Stir in cooled shallot mixture.
Arrange a layer of tomatoes on the bottom of your prepared pan. Top with half of the cheese mixture, spreading to cover. Repeat this process one more time, and then finish off with remaining tomatoes. Sprinkle Monterrey Jack cheese on top of pie.
Bake until golden brown, 40 to 45 minutes. Let cool to room temperature before slicing.
3 large tomatoes (about 2 pounds), sliced ¼” thick
¾ t. kosher salt, divided
½ T. butter, room temperature
¼ c. Italian breadcrumbs
½ T. butter
½ c. chopped Melissa’s shallots
2 c. grated sharp cheddar cheese
½ c. chopped fresh herbs (basil, oregano, parsley, chives, etc.)
½ t. hot sauce
½ t. freshly ground black pepper
2 extra large eggs
Preheat oven to 300°F. Place tomato slices on paper towels and sprinkle with ½ t. salt. Allow them to drain while oven is preheating. Line a rimmed baking sheet with parchment, and place tomato slices on top. Bake for about 40 minutes, checking occasionally, until they start to pucker.
While tomatoes are baking, butter a 9-inch pie pan with unsalted butter, and sprinkle with breadcrumbs. Rotate pan to ensure all greased areas are covered with the crumbs; set aside.
Meanwhile, heat a small skillet over medium heat. Melt butter and add shallots and remaining ¼ t. salt. Cook, stirring occasionally, until shallots have softened and are just starting to brown, 5 to 8 minutes. Remove from heat and let cool.
In a medium bowl, beat eggs until frothy. Stir in cheese, herbs, hot sauce, and pepper until combined. Stir in cooled shallot mixture.
Arrange a layer of tomatoes on the bottom of your prepared pan. Top with half of the cheese mixture, spreading to cover. Repeat this process one more time, and then finish off with remaining tomatoes. Sprinkle Monterrey Jack cheese on top of pie.
Bake until golden brown, 40 to 45 minutes. Let cool to room temperature before slicing.
This post contains affiliate links.


