Showing posts with label sugar cookies. Show all posts

Tuesday, August 8, 2023

Utah’s Pink Cookies

 
Am I the only one who hasn’t heard about Utah Cookies? Trust me when I tell you that these were totally foreign to me. Apparently these giant sugar cookies with pale pink frosting (mine didn’t turn out quite so pale) are a big thing in Utah. I just thought they looked darned good, so wanted to give them a try. I was not disappointed. The [apparent] original recipe is below. I found that the amount of frosting was WAY too much for the baker’s dozen cookies the recipe yields, so I cut it in half.

 Utah’s Pink Cookies

As seen on Taste of Home

 ½ c. unsalted butter, softened

¼ c. vegetable oil

½ c. granulated sugar

½ c. powdered sugar

1 egg

½ t. vanilla extract

½ t. almond extract

2 c. flour

½ t. baking powder

½ t. baking soda

½ t. salt

For the frosting:

½ c. unsalted butter, softened

6-½ c. powdered sugar

2-½ T. milk

1 t. almond extract

Pink gel food coloring

 Preheat the oven to 350°F.

 In the work bowl of a stand mixer, combine the butter, granulated sugar, powdered sugar and oil. Cream until well combined and smooth. Mix in the egg, vanilla extract, and almond extract.

 In a small bowl, combine the flour, baking powder, baking soda and salt. Mix the dry ingredients into the wet ingredients until a soft dough forms.

Line a baking sheet with parchment paper. Form large balls of dough, (about 3 T. each). Roll them into smooth balls and place 4-6 on the prepared baking sheet so they have plenty of room. Use the bottom of a glass dipped in granulated sugar to press down each ball of dough, keeping them about ½” thick. Chill the baking sheet for 10 minutes before putting the cookies in the oven. Bake the cookies for 8 minutes (do not over bake!), remove them from the oven, and allow them to cool on the baking sheet for 30 minutes.

 In a mixing bowl with a hand mixer, cream the butter. Mix in two cups of powdered sugar and the milk. Gradually mix in the remaining powdered sugar until the frosting begins to form. Turn the speed up on the mixer to whip the frosting until smooth. Mix in one to two drops of pink food coloring to achieve desired light pink color. Use a flat spatula to generously frost each cookie. Store in fridge.

As an Amazon Associate I earn from qualifying purchases.

Friday, March 31, 2023

M&M Sugar Cookies

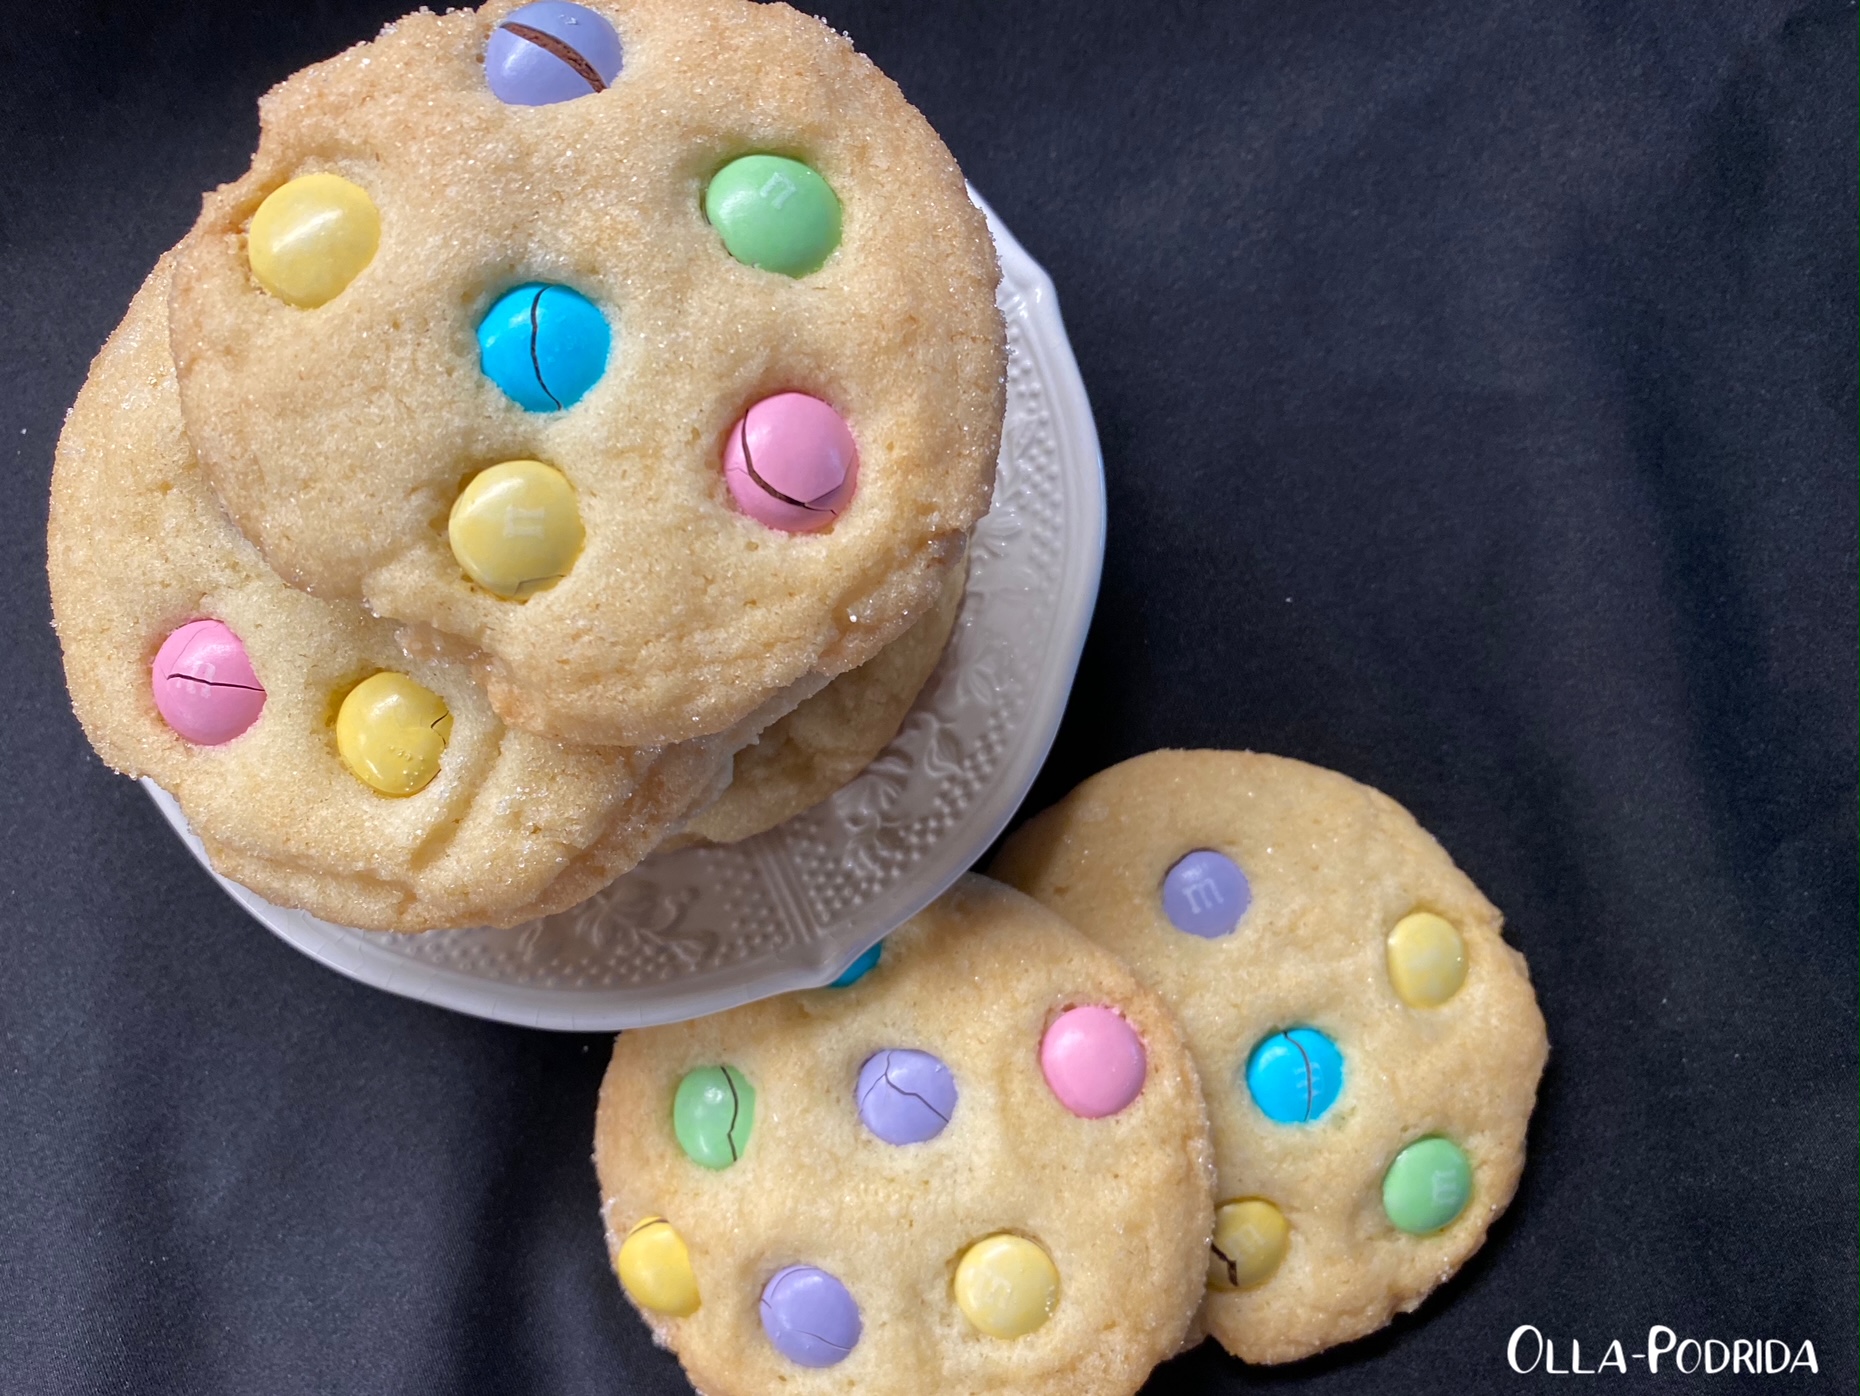
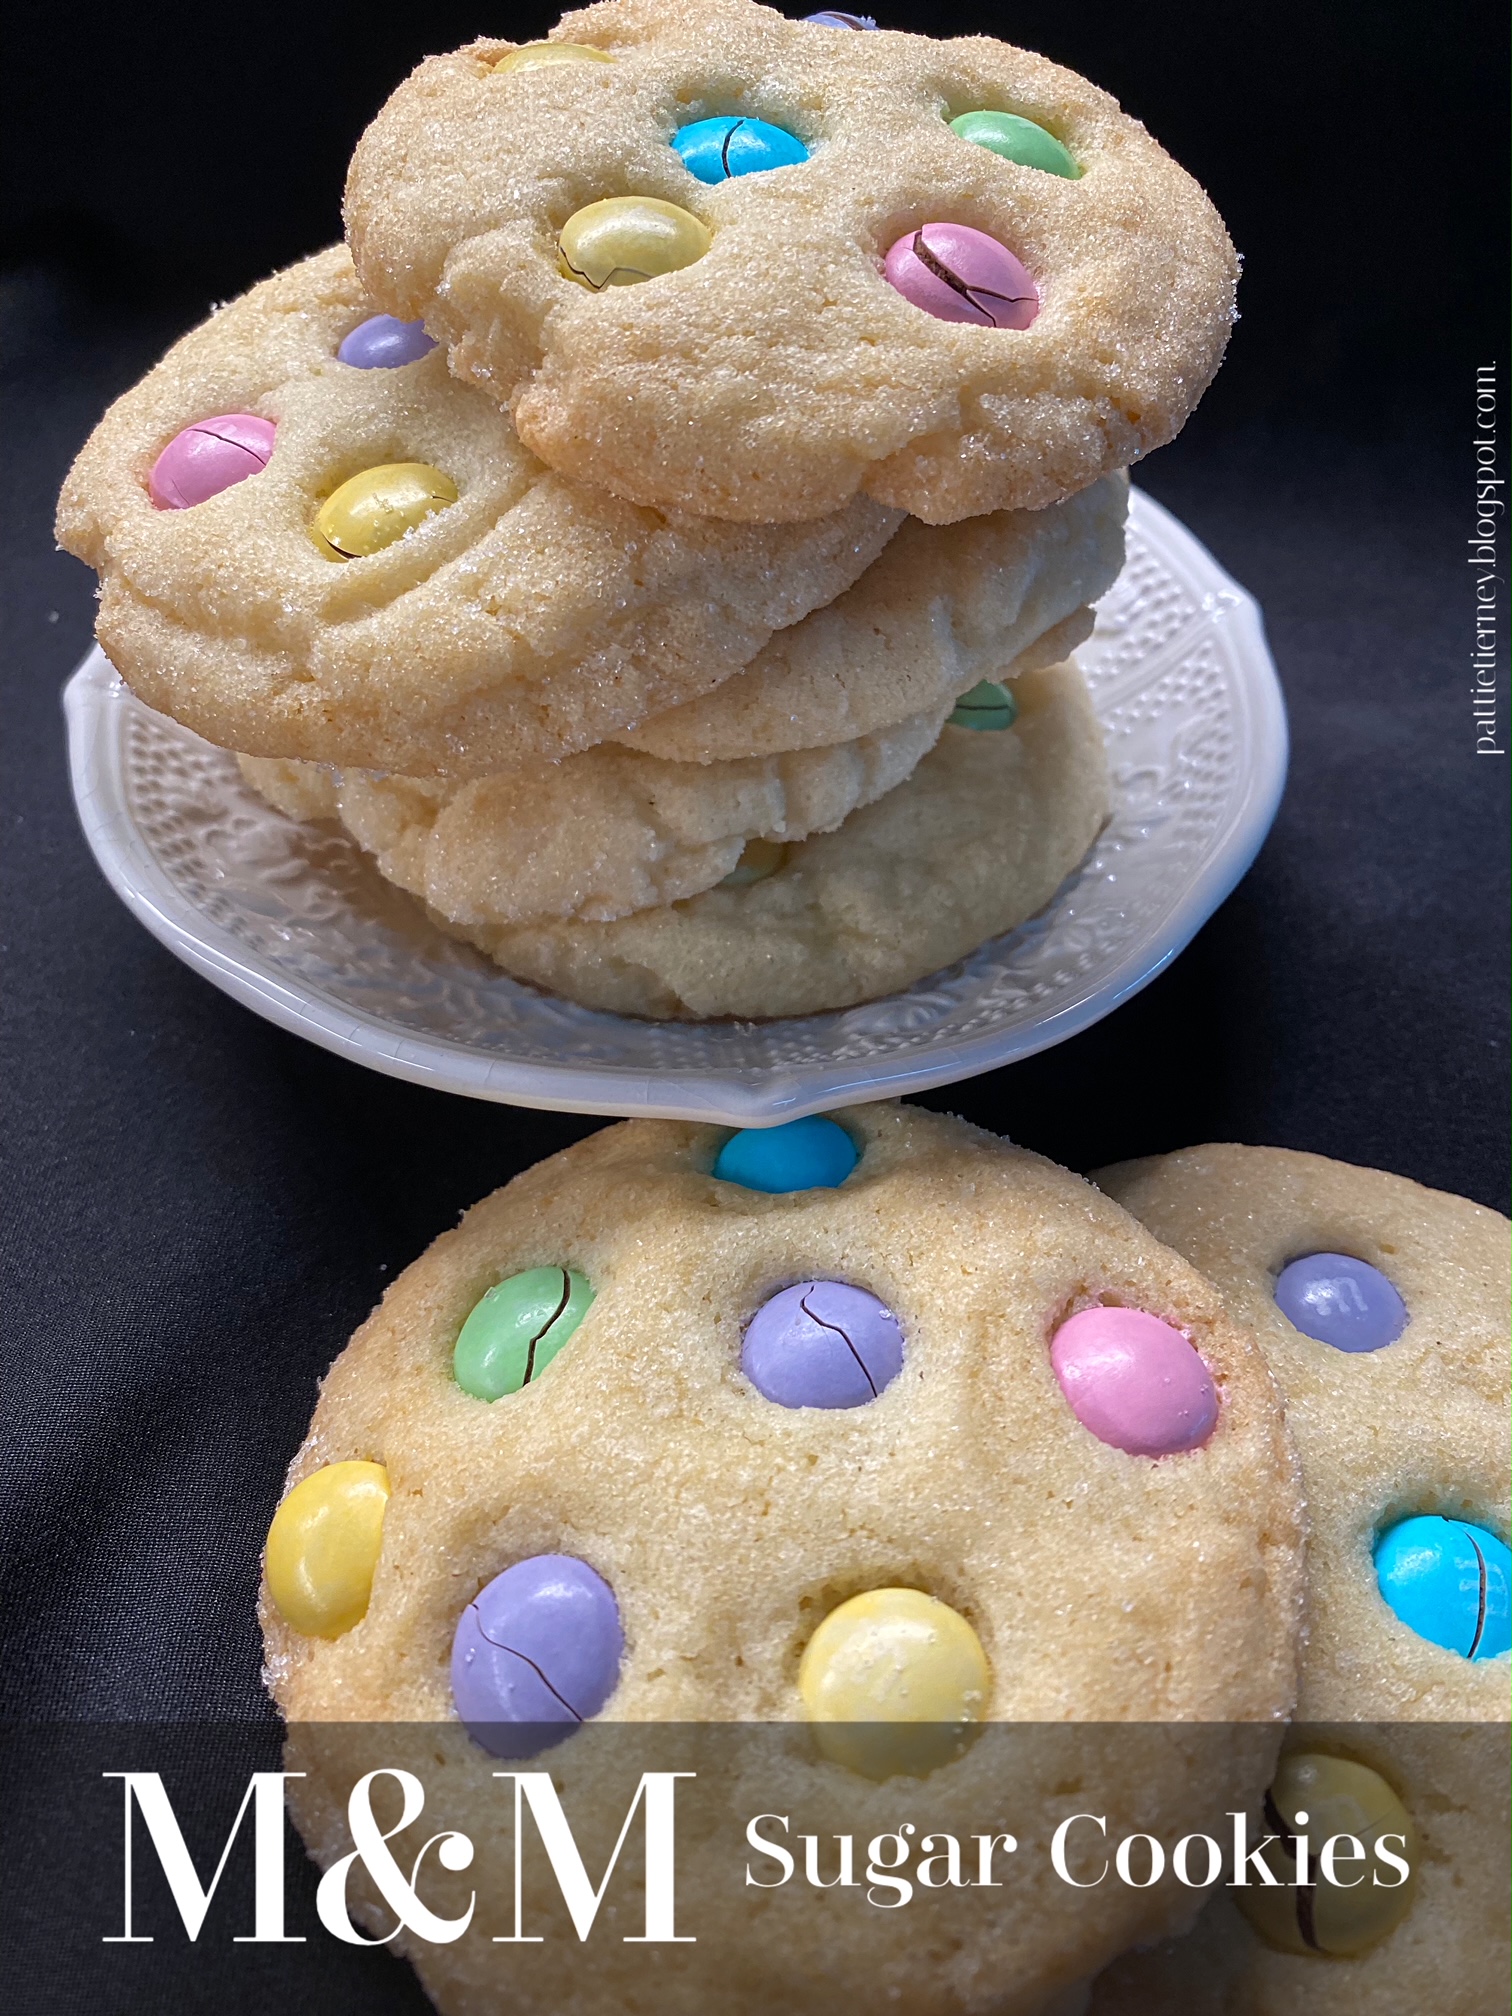
 In my Easter themed Table for Two tablescape, you may have noticed the pastel M&Ms in the bunny egg cups. I had a lot of those left over, and was looking for something to do with them, rather than just eating them straight out of the bag. I’ve always enjoyed M&M cookies, and recently had one from the bakery, that, instead of being made with dough similar to that of a chocolate chip cookie, was made of sugar cookie dough. I thought that was a great idea, so I combined a favorite sugar cookie recipe and the M&Ms, and this is the result. Imagine how cute these would be stacked in a cello bag with a pastel ribbon tied around the top to take as a hostess gift, put in Easter baskets, or at each place setting at your Easter dinner.

M&M Sugar Cookies

1 c. butter, softened
1 1/2 c. sugar plus more for rolling.
2 large eggs
2 t. vanilla extract
1 t. almond extract
3 c. flour
1 t. baking soda
1/2 t. baking powder
1/4 t. kosher salt
 One bag pastel M&Ms

  Preheat the oven to 375°F. Spray baking sheets with PAM, or line with a Silpat; set aside.

 In the work bowl of a stand mixer fitted with the paddle attachment, beat together butter and sugar until light and fluffy, 2 to 3 minutes. Add eggs, one at a time, mixing well after each addition; add vanilla and almond extracts, mix well.

 Sift together flour, baking soda, baking powder, and salt; add to creamed mixture, blending until combined.

 Using a 2 tablespoon cookie scoop, scoop out balls, roll in granulated sugar, flatten slightly, and place on prepared baking sheet spacing 1½” – 2” apart. Press 5 to 6 M&Ms into the top of each cookie. Bake for 9 – 12 minutes. Remove from oven and allow to cool five minutes before removing to a wire rack to cool completely.


As an Amazon Associate I earn from qualifying purchases.
 

Tuesday, September 29, 2020

Pumpkin Spice Sugar Cookies

This post contains affiliate links.

Fall is officially here, and my lifestyle has completely changed. With the cool nights, I’m leaving the windows open, I’ve put away my pastel pillows in favor of those in the colors of fall, and the fire is set in my fireplace just waiting for me to strike a match. I have also changed my methods of cooking. The crockpot has become a permanent fixture on my counter, and the smell of warm spices can be caught floating on the air in my neighborhood. Soups, stews, breads, and pumpkin everything is the order of the day. In case you are unaware (if you’re a new reader) my favorite dessert is cookies. I was wondering how I could alter one of my favorites to reflect my love of fall, and came up with this recipe for Pumpkin Spice Sugar Cookies. One bite, and you’ll find that it’s hard to stop eating them. Seriously, I had to bag mine up and put them in the freezer, the temptation was so strong. The molasses helps to enhance the spices, but if you don’t want that taste to be as strong, cut back to 1 tablespoon.

Pumpkin Spice Sugar Cookies

¾ c.
butter flavored Crisco
1 c. firmly packed brown sugar
1 large egg
2 T.
molasses
2 c. flour
2 t. baking soda
1 T.
pumpkin pie spice*
¼ t. salt
Granulated sugar for dipping

In the work bowl of your stand mixture, cream shortening and sugar until the mixture is light and fluffy. Stir in egg and molasses. Sift together flour, baking soda, pumpkin pie spice, and salt in a separate mixing bowl. Slowly add the flour mixture to the shortening mixture, and blend the dough until thoroughly combined. Wrap the dough in plastic and chill in the refrigerator for one hour or up to overnight.

Remove dough from fridge, preheat oven to 375°F. Cover baking sheets with parchment paper or a Silpat. Using a
cookie scoop, scoop up the dough, roll into balls, and roll in the granulated sugar to coat. Bake for 12 to 14 minutes or until they are puffed and cracked on top. Allow to cool a minute or two on the cookie sheet before transferring them to a wire rack to cool completely. Makes 36.

 *DIY version can be found here.


Sunday, February 14, 2016

"Be Mine" Valentine's Day Cookies


Last December, when my dad gave me all of my mother's Christmas decorations, I found this heart-shaped cookie mold in amongst them. To my knowledge, my mother never used it. This comes as no surprise because I still have the pristine Santa cookie mold that I got around the same time (1985). I've been thinking a lot about my mother lately, for obvious reasons, so thought it was time to finally put it to use. I think it was largely fear of the unknown (read: fear of failure and a colossal kitchen mess) that kept me from attempting this with my own cookie mold years ago.
The mold is a product of Brown Bag Cookie Art, but no recipes or instructions were attached, so I went onto the Internet and found all of the information that I needed. How cute are these?!
Not only are they cute, but they are tasty as well, and surprisingly easy to do (I see Santa cookies in my distant future.) The key thing, I think, is to thoroughly spray the mold with PAM before each use, flour it, knock out the excess flour, and then press the dough in firmly. Once this has been done, and leveled off with a sharp knife, if necessary, press the dough back from the edges with your thumb around all sides. Then, turn cookie and mold on the side, and rap it firmly on the countertop or cutting board, turning the mold slowly as you do and, gradually, the imprinted dough will release.
With the re-rolled scraps of dough, I used my new set of bee cookie stamps to make the bee cookies that I found most appropriate coupled with the hearts.
Have any of you ever used cookie molds? If so, I'd love to know of your experiences. Here's the recipe that I used if you want to try it. 
Sugar Cookies
From Brown Bag Cookie Art

1/2 cup butter, softened
3/4 cup sugar
1 egg
1 Tablespoon cream or milk
1/4 teaspoon salt
1 teaspoon vanilla extract
2 cups flour

Preheat oven to 350
ºF.

Cream together butter and sugar. Beat in egg, milk or cream, and vanilla. Whisk together flour and salt and add to the creamed mixture. Child dough for 30 minutes. Roll or press into mold.

Bake for 10-12 minutes until lightly browned around the edges.

Happy Valentine's Day, everyone!

 This post is linked to:

Sunday, November 23, 2014

Brown Sugar Sugar Cookies

For me, Christmas cookie baking season doesn't officially begin until the day after Thanksgiving, but that doesn't mean that I'm not making a cookie or two ahead of time just to have something sweet to munch on during afternoon tea. Recipes for sugar cookies always catch my eye, causing me to wonder if there is a better version than my own personal recipe, Sistine Chapel Sugar Cookies. To date, I have found that there isn't and mine are undoubtedly the best, but that doesn't mean that there aren't a lot of close seconds, and this is one of them. An adaptation of a recipe from the Taste of Home website, the brown sugar gives these a bit of a richer taste than those made with all white sugar. It also makes a smallish batch, so you won't be rolling dough into balls all day (regular readers of this blog know how much I hate that).

Brown Sugar Sugar Cookies

1/2 cup butter, softened
1/2 cup shortening
1/2 cup granulated sugar
1/2 cup packed brown sugar
1 extra large egg
1 teaspoon pure vanilla extract
2 cups all-purpose flour
1 teaspoon baking soda
1 teaspoon cream of tartar
1/2 teaspoon salt
Additional white sugar for rolling

Preheat oven to 400°F.

In the work bowl of a stand mixer, cream butter, shortening, sugars, egg, and vanilla until light and fluffy, 2-3 minutes. Stir in flour, soda, cream of tartar, and salt, beating until just combined. Shape into large marble-size balls (or, do as I did and use a cookie scoop). Roll in sugar and place on ungreased baking sheets. Top each with about a half teaspoon of additional sugar (to get that crackled look). Bake for 8-10 minutes or until done. Cool. Yield: 3 dozen.


This post is linked to:


Tuesday, October 15, 2013

HAPPY BIRTHDAY, Michael Lee West!

Long before I started a blog, I read them. There were three that I stumbled upon and read religiously, Michael's blog, Designs by Gollum (now Rattlebridge Farm), Susan's Between Naps on the Porch, and Mary's Home is Where the Boat Is.  I was in awe of these three women who wrote, photographed, cooked, gardened, and decorated.  I read these blogs every Tuesday and Wednesday from my hospital bed where I spent each week getting 48-hours of aggressive chemo infusions. When I wasn't reading blogs and mentally taking myself to a far better place, I was writing my bucket list. At the top of that list was to start a blog. It seemed doable and far easier than number seventeen on the list, Study for a hot air balloon pilot's license.
I owe a great deal of gratitude to these blogging women who are more than just words and pictures online, but real women more than willing to share what they know. When I was invited to join in on the celebration of Michael's milestone birthday, I panicked.  How on earth could I live up to the standards of such talented blogging women? But then I thought, in the past three years I have read every one of Michael's eight books, devoured them, if you will, taking a particular liking to Teeny Templeton (Teeny Templeton Mysteries) and Honora DeChavannes (Mermaids in the Basement), whose quote, I lacked the strength to host a parasite, much less a party applies to me more often than I care to admit.  Through the reading of her books, I learned a little something about finding my own voice.  So, I decided that, in celebration of her sixtieth birthday, I would not only honor the woman, but her books. 

Join me, will you, in a cup of tea, served from my treasured Mystery Writer's Teapot (in honor of Teeny and her mystery-solving skills), and sink your teeth into one of Michael's books. Literally.

Happy Birthday, Michael!   
May you have many more to come, we're counting on you!


About the cookies:  I learned to step out of my realm, and push myself beyond what I ever thought I could do through reading blogs. A couple of years ago I saw cookies made with edible paper and have always wanted to try this. The truth is, until now, I never had the nerve. I cook, and sometimes bake, but decorated cookies are something I generally know better than to tackle.  But knowing that I'd have to come up with something unique to celebrate Michael, I gave it a try. Michael, I do hope that you'll give me an A for effort. Obviously this was a bit too far out of my realm. Of course, a lot of the problem was my fault, and should not, in any way, deter you from trying these yourself. I should have made two batches of icing. One for outlining, the other to flow on. It was too stiff and did not flow at all, so I had to sand them down with a nail buffer. I should have checked my supply of piping bags BEFORE Michael's closed. I had to use a gallon size Ziploc freezer bag (after removing the celery, yes, I should have checked my supply of them too), to do the edging, that I punctured when I put the star tip in. Then the tip got clogged, I forced it, and the bag burst. Another lesson learned is to never wear your favorite tangerine linen shirt to pipe icing. Getting the picture?

The recipe (reprinted below for convenience) is from Martha Stewart. (It's delicious.) The edible book covers I custom ordered from Queen of Tarts (A lovely woman, who, I should mention, does not violate copyright with reckless abandon, I begged like a dog for these.).  You can find a great tutorial by someone who really knows what she’s doing here.  I bought the decorating tips and meringue power to make the royal icing from Michael's (appropriate, no?). The nerves of steel are my own. Oh, one more thing, a nearly new container of meringue powder is up for grabs, I am never doing this again!  But, like I said, this should not deter you.

In her Inspector Sloane mysteries, Catherine Aird wrote, If you can't be a good example, then you'll have to serve as a horrible warning.  I think I've done my part.

Martha Stewart’s Basic Sugar Cookies
Everyday Food, December 2003

2 cups all-purpose flour, plus more for rolling
1/2 teaspoon baking powder
1/4 teaspoon salt
1/2 cup (1 stick) unsalted butter, room temperature
1 cup granulated sugar
1 large egg
1 teaspoon vanilla extract

In large bowl, whisk flour, baking powder, and salt. With an electric mixer, cream butter and sugar until light and fluffy. Beat in egg and vanilla. With mixer on low, gradually add flour mixture; beat until combined. Divide dough in half; flatten into disks. Wrap each in plastic; freeze until firm, at least 20 minutes, or place in a resealable plastic bag, and freeze up to 3 months (thaw in refrigerator overnight).

Preheat oven to 325 degrees. Line baking sheets with parchment. Remove one dough disk; let stand 5 to 10 minutes. Roll out 1/8 inch thick between two sheets of floured parchment, dusting dough with flour as needed. Cut shapes with cookie cutters. Using a spatula, transfer to prepared baking sheets. (If dough gets soft, chill 10 minutes.) Reroll scraps; cut shapes. Repeat with remaining dough.

Bake, rotating halfway through, until edges are golden, 10 to 18 minutes (depending on size). Cool completely on wire racks. To ice cookies, spread with the back of a spoon. Let the icing harden, about 20 minutes. Decorate as desired.