Saturday, December 30, 2017

Top Ten Posts of 2017


It's time for my year-end wrap-up featuring the 10 most popular posts of 2017. It's an agreeable assortment I think, nicely varied, and it tells me a couple of things. First of all, that you like your ramen (It took the top spot by a HUGE margin) and your veggies, second, that you like tablescapes. I'm going to be working on more of both of those for 2018. You all surprised me with the inclusion of the bunny cakes. I’d like to say that I have more such recipes ahead, but I have pretty much sworn off of baking for 2018.


Thanks to all of you who visit my blog, I really appreciate having you here. To see the blog post and recipe associated with each of these pictures (shown in the order of popularity), click on the title below the photo and it will take you directly to the post. Happy viewing, and have a wonderful New Year.

Easy One-Skillet Beef and Broccoli Ramen


Saturday, December 23, 2017

The Sherlock Holmes Tree

For the first time in 25 years I’ve put up my Sherlock Holmes tree. When I was married to my first husband, we had a large house with a guest room that was done in a Sherlock Holmes theme. Among the things in that room was my miniature re-creation of Holmes’s sitting room at 221B Baker Street, on top of which, every December, I would erect a small tree, and cover it with Sherlock Holmes theme ornaments.
I always enjoyed that tree, and was amazed at how many Sherlock Holmes ornaments I had. When the word got out that I liked Sherlock, people would make me, or scour the earth for, Sherlock Holmes ornaments to add. So, this tree has a lot of history to it.
 It felt so good to put it up this year. The house I lived in with Mr. O-P was too small to have a place for it. So, for the time we spent at that house, the ornaments, and my miniature Baker Street were stored away. It did good things to my soul to get everything out this year. And, as long as I am in an upright position, that Sherlock Holmes tree is going to go up every year.
In fact, I already have plans to make some ornaments of my own to add to the tree next year, and share with others of like mind.
The Sherlock Holmes ornaments are easy to recognize, although some ornaments may not make obvious sense to those who don't know the Sherlock Holmes stories well.
The red bicycle, for example, is to represent The Adventure of the Solitary Cyclist.
The goose represents the lone Christmas story in the canon The Adventure of the Blue Carbuncle.
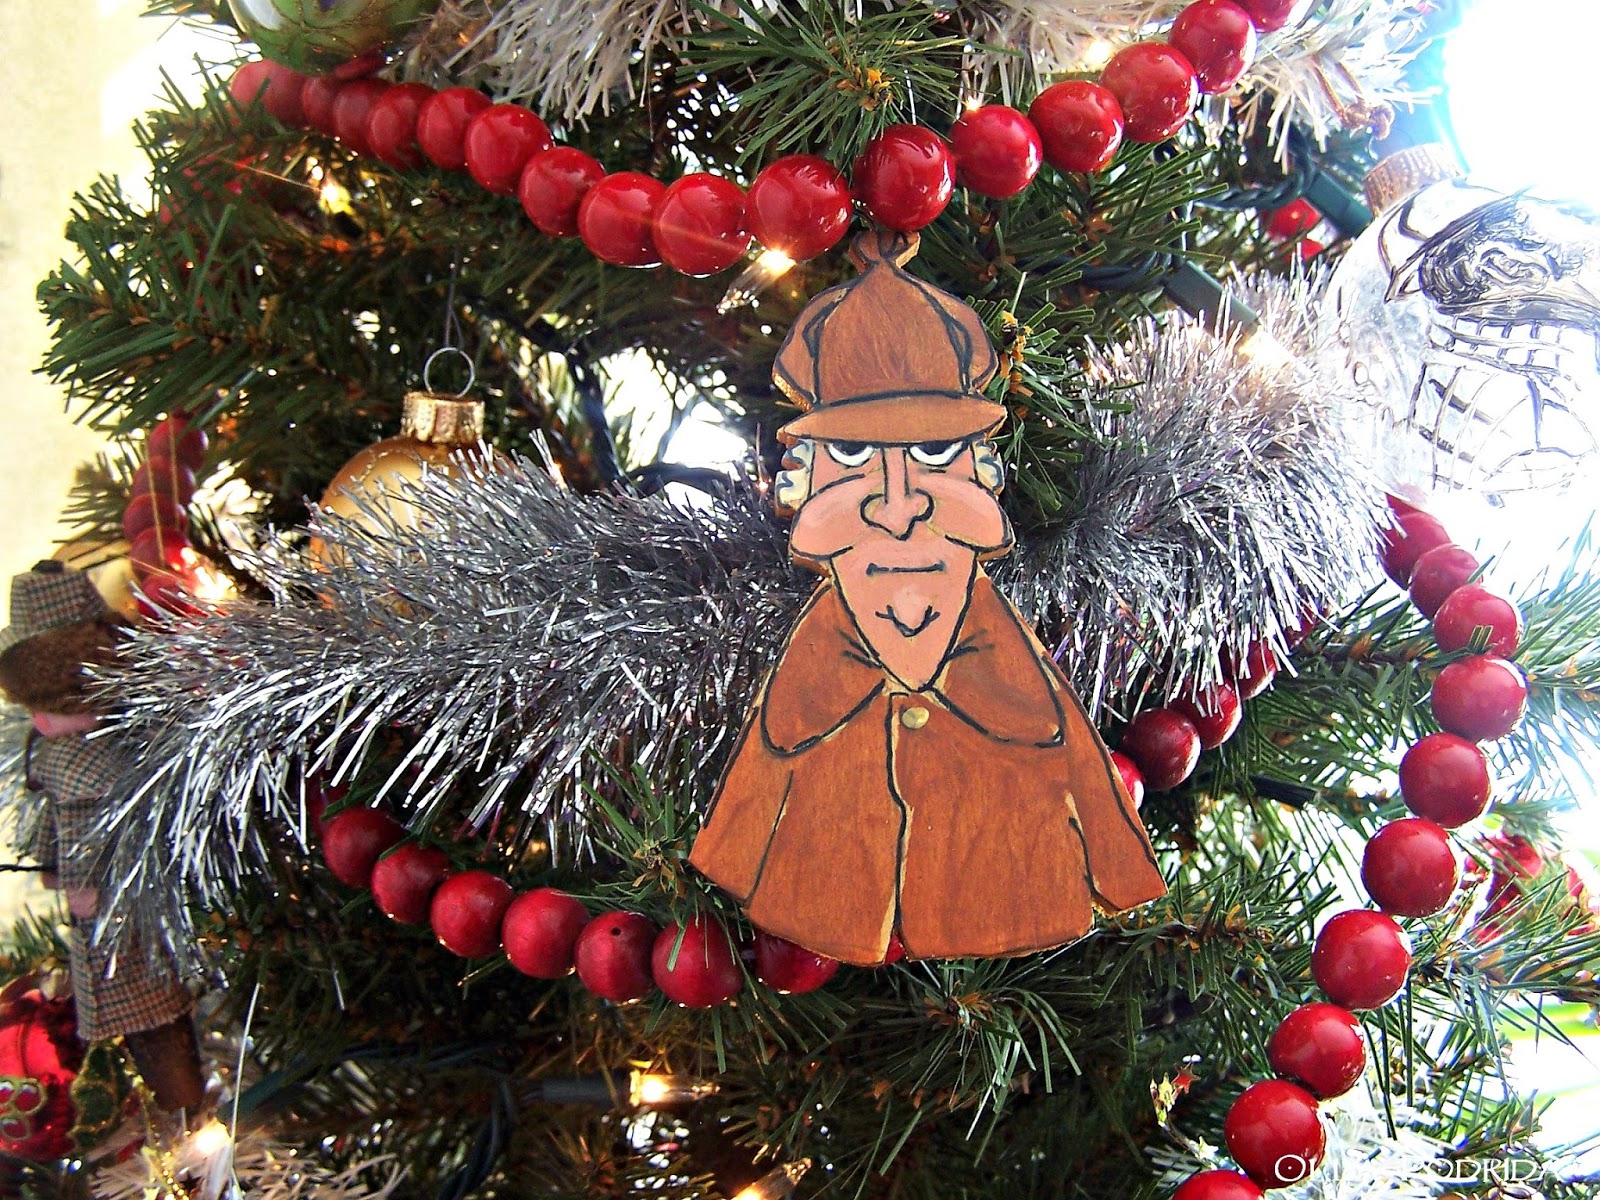
The old man (who is really Ebenezer Scrooge), reminded me so much of Sherlock playing the old bookseller in The Adventure of the Empty House, that I had to take it off of my Dickens tree and put him on my Sherlock tree. I like him here.
I don't as yet have a hound of the Baskervilles, but I do have a pipe (though not a calabash), and I need to add a Persian slipper. This tree is going to grow in years to come, not in size but in volume.
 For those of you who are as passionate about things as I am about Sherlock, you might consider having your own themed tree. They’re a lot of fun to put together, and always draw lots of comments and interest from family and friends.


This post is linked to:

This post contains affiliate links.


Friday, December 22, 2017

Jim’s Chocolate Tort

Like me, the late Mr. O-P was not a baker. We were both cooks, and enjoyed every minute of it, but baking? No. When you’ve invited guests for dinner, however, you have to have dessert. Fortunately, he made it more often than I did, his specialty being this rich Chocolate Tort. It's easy to put together, and is always delicious. The only piece equipment you're going to need is a 9-inch spring form pan. Let me tell you that it's well worth the investment just to be able to make this cake.
Jim’s Chocolate Tort

9 ounces semisweet chocolate, chopped
1 cup unsalted butter
5 large eggs
1/2 cup superfine sugar, plus some for sprinkling
1 tablespoon dark cocoa powder
1/4 teaspoon espresso powder
2 teaspoons vanilla extract
Cocoa powder, for dusting
Chocolate shavings, for decorating.

Preheat the oven to 350° F. Lightly butter a 9-inch spring form pan and line the base with parchment paper. Butter the paper and sprinkle with a little sugar, tapping out excess.

Because the cake is baked in a water bath, carefully wrap the base and halfway up the sides with two thicknesses of heavy-duty aluminum foil to avoid any water leaking into the cake.

Melt the chocolate and butter in a medium saucepan over low heat, stirring frequently. Remove from heat; set aside. In the work bowl of a stand mixer beat the eggs and 1/2 cup of the sugar for one minute.

In a small bowl, mix together cocoa, espresso powder, and the remaining 1 tablespoon sugar; beat into the egg mixture until well blended. Beat in vanilla extract, then slowly beat in the melted chocolate until well blended. Pour mixture into the prepared pan and tap gently on the counter to release any air bubbles.

Place the cake pan into a larger roasting pan, and pour in boiling water to come 3/4 inches up the side of the wrapped pan. Bake for 60 minutes, or until the edge of the cake is set and the center is still a bit soft. The cake is done when a toothpick inserted 2 inches from the edge comes out clean. Lift the pan out of the water, remove the foil, and place on a wire rack. Run a knife around the side of the pan and then remove the side of the springform pan. Let the cake cool completely. Don't be alarmed if it sinks a little in the middle.

Invert the cake onto a wire rack, remove the parchment paper, and dust lightly with cocoa. Sprinkle chocolate shavings around the edge, and then carefully slide the cake onto your serving plate.


This post is linked to:

This post contains affiliate links.


Thursday, December 21, 2017

Lunch with Santa


Before the holidays are over, I will probably have set four or five different tables. Essentially, it's a variation on the same theme. In each new setting, I'll swap out one or two things to give the table an entirely new look, make the table bigger by putting a sheet of plywood on top of the existing table in order to more comfortably seat six, substitute a dish or two, or add additional grandness to the centerpiece.

This first table is called "Lunch with Santa." The Santa plates are very special. They belonged to my mother for many years. I didn't want to disturb dad's household after she passed away, so I didn't mention to dad that I really wanted to have them. Five years have now passed, and I really wanted to see Santa's sweet face once again, so asked dad, and he was only too happy to give them to me. So this table is very near and dear to my heart.
Because I like to mix the old with the new, I bought the leafy placemats from Pier 1 just this season. In the past, I would get fresh greenery to spread out on the buffet beneath the serving dishes, as well as run it down the middle of the dining table. The problem with this is that it dries out rather quickly, and can become a bit of a mess. When I saw these placemats, I knew that they would make a wonderful substitute for my fresh greenery, and they do. I love the look. I also love the red bells on each one of them.

The reindeer I've had for many years, and use them time and time again. Because they are so simple, they go with absolutely everything.
The silver houses I made a couple of years ago, and you can see them here. There's a set of three, but the biggest one was too big for this table, so it will be a part of a new centerpiece on the expanded version of this table.

You may (or may not) have noticed the black plaid placemats. I love these. This is a purchase I will never regret, because I can use these for almost every holiday. Let's face it, if I can use them for Christmas, I can use them anytime. They provide a wonderful backdrop for my colorful place setting, and look equally good with the plaid napkins, also new  from Pier One this year.
You may be able to see my new hutch in the background. I am absolutely in love with this wall unit, and been having a wonderful time decorating each one of the shelves. It is exactly what I needed and wanted, and I couldn't be happier.

Red plates, placemats, napkins, and red truck - Pier One
Flatware - Target
Green glasses - Villeroy & Bach
Pillow, twig reindeer - Pottery Barn
Santa Plates - Fitz & Floyd

This post is linked to:

Tuesday, December 19, 2017

Nutty Pimiento-Olive Spread

I love it when things are both tasty and festive, don't you? This recipe certainly fills the bill with its pimento-stuffed olives offering up both red and green, the colors of the season. This dish is not only easy, but make ahead as well, so is pretty much the perfect holiday spread. I like to keep various cheese spreads in the fridge at all times because you just never know when someone's going to drop by for a glass of cheer.
Nutty Pimiento-Olive Spread

3 ounces cream cheese, softened
1/4 cup mayonnaise
1 /2 cup chopped pimiento-stuffed olives*
1/4 cup chopped pecans
1/4 teaspoon Frank's Hot Sauce

Place all ingredients into a medium bowl, and beat until combined. Cover and refrigerate overnight. Garnish with a couple of slices of olive. Serve in a seasonal bowl with cruditƩs or crackers. (Now is the time to break out those cute
Christmas cups and saucers that you may or may not ever use. You'll find they make an excellent and attractive vessel for holding both crackers and a cheese spread.)

*To save yourself time and make chopping the olives easier, pulse a couple of times in a
bullet blender or mini food processor. You can do the same with the pecans.


This post is linked to:

This post contains affiliate links.


Monday, December 18, 2017

Glazed Fruit and Spice Cookies

Today, December 18th, is National Cookie Baking Day, and that is exactly what I'm doing, baking cookies. As a result, the house smells like Christmas. What does Christmas smell like, you ask? It smells sweet, and spicy, with a touch of lemon, and that is precisely what makes up these delicious fruit and spice cookies, reminiscent of some that my grandmother used to make when I was a little girl. A soft type of cookie -- and generally I'm not a fan of the soft cookie -- these can pull it off, and the glaze on top just makes them extra wonderful. The glaze also makes them extra work, but basically, they are slice and bake cookies that you can make ahead, and slice up when you want. The dough also freezes nicely, so you can keep it on hand, and bake them up at the last minute just before guests arrive to give your house a wonderfully spicy aroma and incredibly cozy feel. Leave some out for Santa. He may just put something extra special in your stocking this year.
Glazed Fruit and Spice Cookies

1-1/2 cups chopped dates
1 cup raisins
2 tablespoons rum
1 cup butter, softened
1-1/2 cups granulated sugar
3 large eggs
3 cups flour
1 teaspoon baking soda
2 teaspoons ground cinnamon
1 teaspoon ground cloves
1 teaspoon ground nutmeg
1 cup finely chopped walnuts

Glaze:
2 cups confectioners' sugar
2 tablespoons freshly squeezed lemon juice
2 tablespoons water

 Pulse raisins and dates in a food processor until finely chopped, pour into a medium mixing bowl. Drizzle rum on top of the chopped fruit, and set aside for at least an hour, preferably overnight.
In the work bowl of your stand mixer, cream butter and sugar until light and fluffy. Add eggs, one at a time, beating well after each addition. In a separate bowl, whisk together the flour, baking soda, cinnamon, cloves, and nutmeg. Gradually add dry mixture to the creamed mixture. Stir in the date and raisin mixture, and finally the walnuts. Cover and refrigerate for 1 to 2 hours until firm.

On a floured surface, roll the dough into two 12 inch long by 2 inch diameter rolls. Slice in ¼-inch-thick rounds and place on a greased or
Silpat-lined baking sheet. Bake at 375° for 12 to 15 minutes, or until golden brown. Remove to a wire rack to cool.

While the cookies are baking make the glaze by combining the glaze ingredients, whisking until smooth. Spoon glaze over warm cookies.
This post is linked to:

This post contains affiliate links.


Sunday, December 17, 2017

A Thyme to Discover. Early American Recipes for the Modern Table, Reviewed

I don't think I have ever been as captivated by a cookbook as I was by this one. From its clever title to its charming illustrations, wonderful recipes, interesting history, and snippets of facts peppered throughout, A Thyme to Discover. Early American Recipes for the Modern Table by Tricia Cohen and Lisa Graves has a little bit of everything. It makes as appropriate addition to your coffee table as it does your kitchen counter because of its wide appeal. Children will enjoy the whimsical illustrations, adults with no interest in cooking will find the history fascinating, and the cook, well, the cook is just going to fall in love.

Everything about this book is unique and clever, even the Table of Contents, that is divided into sections of time rather than by cuisine, as shown in the picture below.
The recipes are adapted with the modern day cook in mind, and all tastes are considered. No one, from the very young to the elderly, is going to be left behind. From the 1620s to the 1650s you will find Maple and Herbs Acorn Squash; from the 1650s to the 1680s you will find Veal with Madeira Sauce; the late 60s offer Baked Virginia Ham with Bourbon Orange Glaze; 1700s to 1790s, Braised Short Ribs, Boston Brown Bread and Baked Beans. There are plenty of desserts to be had as well, think Decadent White Chocolate Rice Pudding, Applejack Crisp Pie, and Bourbon Oatmeal Raisin Cookies. Is your mouth watering yet? Mine is. To be truly authentic, you can precede your meal with a colonial cocktail -- Spruce Beer, Quince Wine, Rattle-Skull, and Flip, just to name a few.
This is a hard book to put down, once you start paging through you won't want to stop. It will also send you immediately into the kitchen to whip up something tasty.
We all know that hard to buy for person whose name we happen to draw for Secret Santa. That person who has a variety of oddball interests, few of which replicate our own, and we often find ourselves scratching our heads trying to figure out what to get him or her. This book is your answer. It is a book for foodies, history buffs, and red-blooded Americans in general. It will charm and delight both young and old, you don't have to be a cook to enjoy it, and it would be suitable for older children as well as adults, and a welcome gift for a grandparent who may remember being taught about the Mayflower, American Revolution, and the Early American Settlers who struggled to survive in the New World. You will delight your recipient with this book. 

Disclaimer: I received a complimentary copy of this book from the publisher in exchange for an honest review.

Friday, December 15, 2017

Brazilian-Style Pound Cake

Normally, and you're just going to have to take my word for it, I don't moan when I eat pound cake. Moans are generally reserved for things in the steak and seafood categories. And, truth be told, I'm not a huge fan of pound cake. I make pound cake, because it's easy, and can be dressed up in a variety of ways. I also appreciate that it can be enjoyed as easily for breakfast as it can be for dinner. Essentially, it's versatile, but that's hardly high praise.

All of this changed when I tried this recipe for Brazilian-Style Pound Cake that I found on the Eagle Brand website. Whether you are a fan of pound cake, or not. Whether you make a lot of pound cake, or not. This is different from anything that you have ever made or consumed in the past, I guarantee it. I don't know about you, but I have never used a can of sweetened condensed milk in a pound cake before, and, oh boy, what a difference that makes. This also calls for an entire pound of butter, so you know that it is going to be rich, and dense, and good. It is all of these things. It also has a wonderfully crispy exterior, and rich, almost chewy interior, with that pound cake denseness that you love, a delicate sweetness, and wonderful flavor. This is the absolute apex of pound cakes, and I insist that you try it!
Brazilian-Style Pound Cake

1 pound (4 sticks) butter
2-1/4 cups granulated sugar
6 large eggs, room temperature
1 can Eagle Brand sweetened condensed milk
2 teaspoons vanilla extract
1 teaspoon finely grated lemon peel
3 cups all-purpose flour
1/2 teaspoon salt
Powdered sugar, for garnish

Preheat oven to 325° F. Grease and flour (or thoroughly coat with Baker's Joy) a 10-cup Bundt pan; set aside.

In the work bowl of a stand mixer beat butter on high speed until light and fluffy. Blend in sugar and eggs. Beat on high-speed for three minutes. Blend in sweetened condensed milk, vanilla extract, and lemon peel. In a medium bowl whisk together flour and salt until blended. With mixer on low slowly add the flour mixture to egg mixture, beating until blended. Pour mixture into prepared pan.

Bake for 90 to 95 minutes or until toothpick inserted in center comes out clean. Cool in pan 30 minutes. Remove from pan to wire rack to cool completely. Generously dust with powdered sugar prior to serving.
You can also make small cakes, as I did, using this adorable snowflake silicone mold pan. I baked these for 27 minutes, allowed them to cool in the pan for 10 minutes, and then turned them out onto a wire rack.


This post is linked to:


This post contains affiliate links.


Disclaimer: I received compensation from Eagle Brand Milk to create this post.