Showing posts with label buffet. Show all posts

Tuesday, June 6, 2023

Jalapeño Popper Quiche

 
I am one of those old people who get upset when there’s a change in routine, similarly to the way my grandmother got upset when Walter Cronkite took vacation and was replaced by Roger Mudd. In my case, it was due to baseball. First of all, this season the Cardinals are a pathetic team. Second, the game on Sunday was scheduled for the shockingly early hour of 11 AM CDST. Lastly, it wasn’t shown on its regular network, but on Peacock TV. So, let me just say that my day did not start off well. When things like this happen, and I feel myself slipping into Bizarro World, I start thinking about recipes I like, and how I can mix them up and turn them into something entirely different. Sports make me think of jalapeño poppers. The early game time made me think of breakfast, ergo, jalapeño popper quiche. I had no idea what I was doing, but let me tell you, the outcome was MAGNIFICENT! This is so good! I think it’s also a quiche that a man would be proud to eat.

Jalapeño Popper Quiche

 1 pie crust*

4 large eggs

1 c. heavy cream

Salt and freshly ground black pepper, to taste

4 slices thick-cut bacon, cooked and crumbled, reserve some for garnish**

4 oz. cream cheese, cubed

2-3 Melissa’s pickled jalapeños, seeded and chopped***

1 c. shredded cheddar, divided

3 scallions, chopped, divided

 Preheat the oven to 350°F. Prepare the pie crust if making your own; set aside.

 In a medium mixing bowl, vigorously whisk eggs and heavy cream; season with salt and pepper.

 Scatter bacon, cream cheese, jalapeños, half of the cheddar, and half of the scallions on the bottom of the pie crust. Carefully pour egg mixture into the crust.

Bake the quiche for 40-45 minutes, or until the eggs are set. While the quiche is still warm, add the other half of the cheddar cheese on top and allow cheese to melt. Garnish with chopped bacon and scallions. Allow to stand for ten minutes before slicing and serving.

* I used frozen because it was convenient

** Go to the extra effort of doing this in a pan on the stove, and cook it very dark, so that you get that deep, rich, broiled bacon flavor as you would on a traditional popper.

*** Use pickled jalapeños because they have more flavor here.

As an Amazon Associate I earn from qualifying purchases.


Wednesday, June 1, 2022

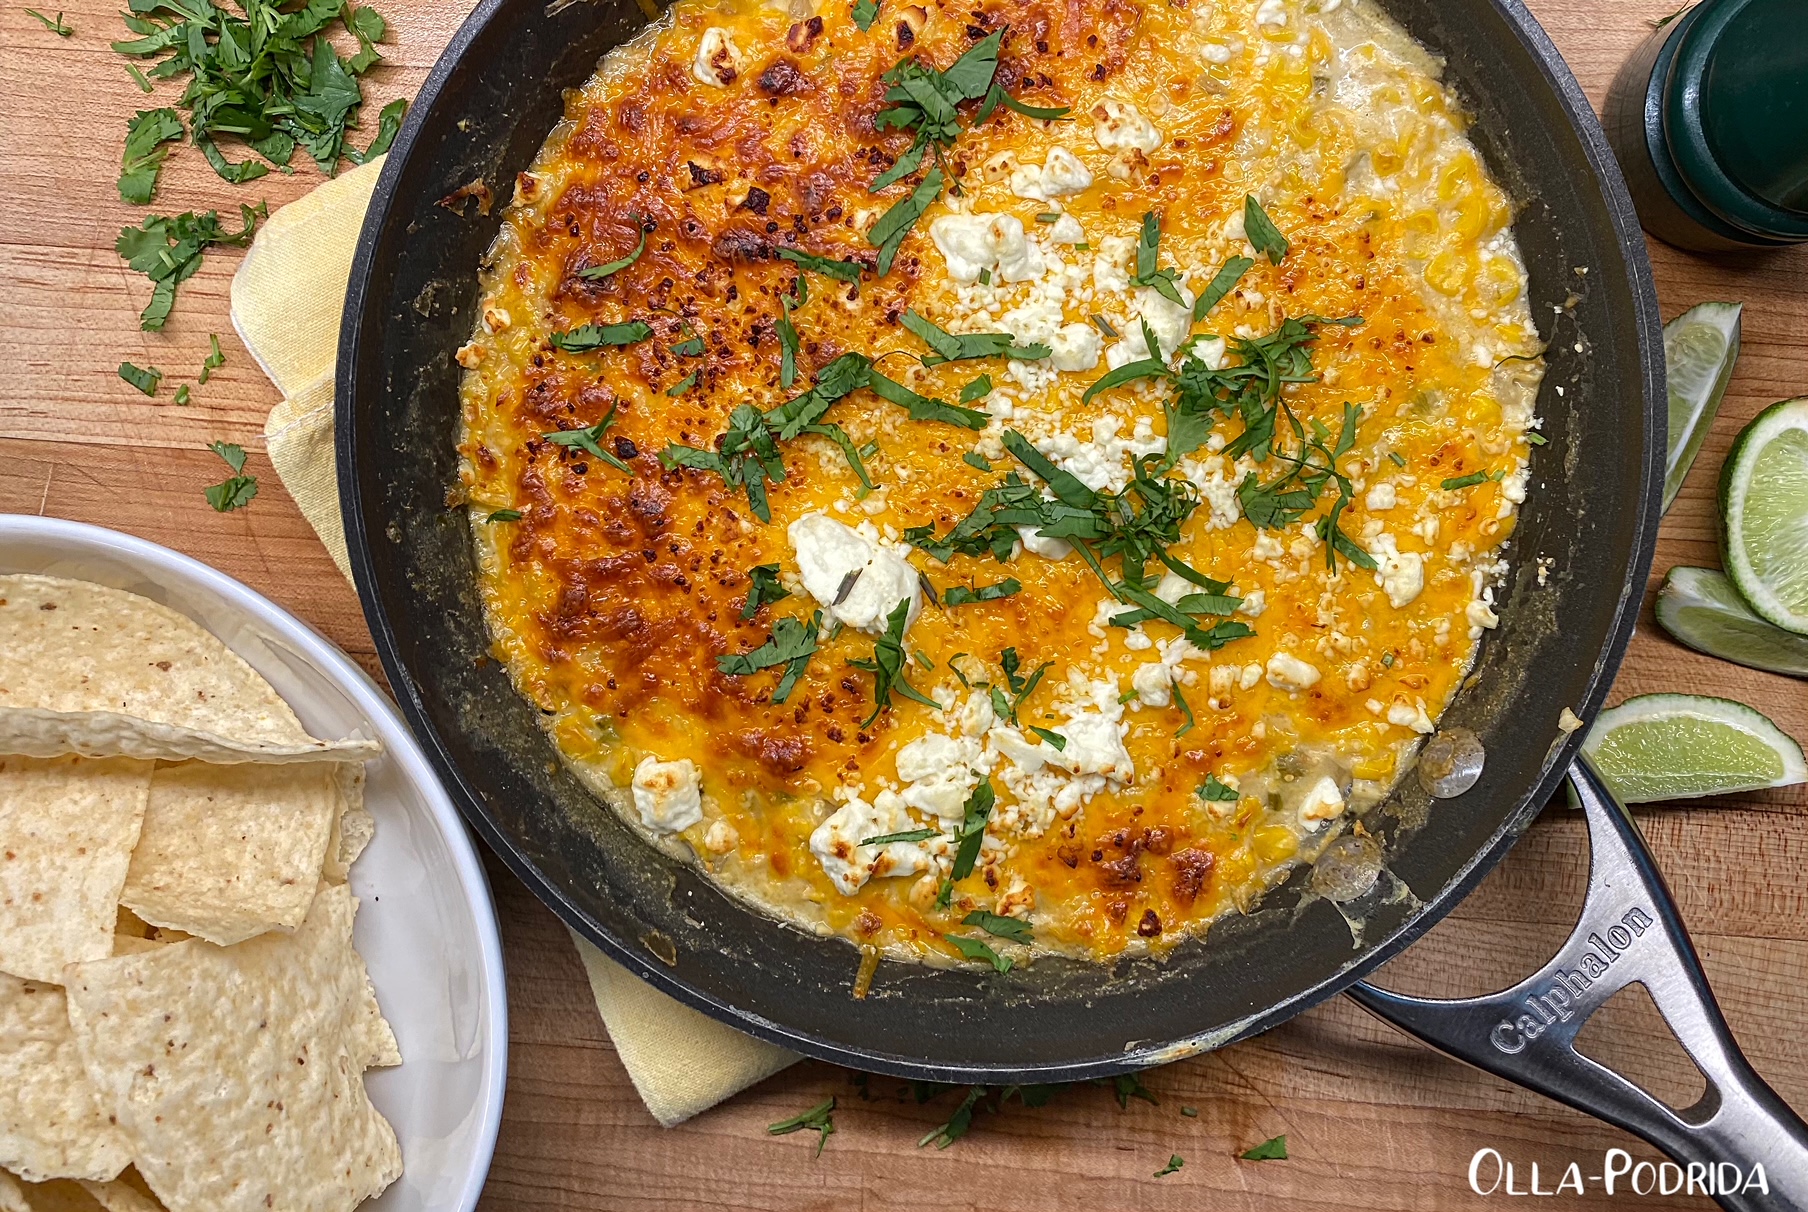
Mexican Street Corn Skillet


One of my favorite seasons is nearly upon us, fresh corn season. When that farm fresh corn hits the markets, I am buying it by the armfuls, using it in as many dishes as possible from an omelet at breakfast, to a salad at lunch, to a quiche or a casserole at dinner. This year, I am also going to be enjoying it and this delicious Mexican street corn skillet. This is a recipe that I found on allrecipes.com and adapted slightly. Ostensibly, I believe it’s supposed to be a dip. As a dip, it’s absolutely wonderful, but it’s also excellent as a side dish with a grilled steak, or a wonderful accompaniment to any Mexican meal. If you have any left, use it the next morning as a filling in an omelet. You would not believe how good that is! No matter how you choose to make it, I guarantee you’re going to enjoy it. 

Mexican Street Corn Skillet

2 T. butter
1 small red onion, chopped
Kosher salt
6 garlic cloves, minced
1
Melissa’s pickled jalapeño, stemmed, seeded, and minced
1 16-oz. bag frozen corn, or 3 cups fresh corn
1 t.
ground cumin
Pinch chili powder
2 T. freshly squeezed lime juice
1 10.5-oz. can Cream of Celery soup
Cayenne pepper, to taste

½ c. shredded cheddar
½ c. Cotija cheese
Chopped cilantro, optional

 Melt the butter in a 10” skillet over medium-high heat. Add the onion, season lightly with salt, and cook, stirring occasionally, until translucent, about 5 minutes. Add the garlic and jalapeño and cook, stirring until just softened, about 2 minutes. Add the corn, cumin, and chili powder, and cook, stirring, until warmed through and tender, about 6 minutes for frozen corn and 3 minutes for fresh corn. Add the lime juice, cream of celery soup, cayenne, and ⅔ cup water. Bring the mixture to a simmer, stirring to combine. Taste and add more salt if desired.

 Turn on a broiler with a rack positioned about 6 inches from the heat. Sprinkle the top of the corn with the cheeses and broil until the top is deeply golden brown, 2 to 3 minutes, rotating once a minute to prevent burning. Add more cayenne to the top, if desired, along with a scattering of cilantro, and serve with hot sauce on the side.


As an Amazon Associate I earn from qualifying purchases.


Thursday, January 14, 2021

The Winter Hutch

This post contains affiliate links.

Two of my favorite seasons when it comes to decorating my 10-foot-wide wall unit, commonly referred to as “The Hutch,” are autumn and winter. I suppose it’s because I have so many dishes that lend themselves well to both of these seasons. The fact that they are two of my favorite times of the year may have something to do with it.

 In winter I tend to focus largely on white to represent frosty gray winter days and snow. This year I added a new tray (at center, I found it on Amazon here) and my mother’s Wilton Armetale. Lately I have become a bit obsessed with Wilton Armetale, and am lusting after this darling Sea Turtle Chip and Dip Divided Server.

Adding whimsy to this group are the elk salt and pepper shakers that you first saw in last week’s “Winter in the Woods” tablescape. I have to admit these became fast favorites despite being a bit awkward to use.

I also tend to gravitate toward pitchers, clustering them in groups of three. (I am currently stalking this one for a Bee Tablescape that I am planning for the spring.) I like to offer plenty of beverages at the table from ice water to ice tea to juice, even mulled wine. There’s something about the relaxing process of sipping something delicious that makes a shared meal so relaxing.

Touches of green keep the silver and white from becoming boring. The texture provided by the mini pine tree gives it warmth.

Do you change up your hutches, buffets, sideboards, or china cabinets with the seasons?


Tuesday, December 5, 2017

Aunt Nance's Jalapeño Corn Casserole

I tried a couple of new dishes at Thanksgiving this year, and was delighted with them both. Both of them came from Amy Nelson Hannon's wonderful book Love, Welcome, Serve. (You can read my review here, and find a recipe for her Gruyère Mashed Potatoes that I also served -- wonderful.)

Another recipe that I served on my Thanksgiving buffet, from that same book, and proved to be a big hit, was Aunt Nancy's Jalapeño Corn Casserole. I am a fan of corn, though not a particular fan of creamed corn, but it worked perfectly here. I was seriously lapping this stuff up. Keeping my crowd in mind, I did cut back on both jalapeño slices and jalapeño juice by half. I knew that I was going to be serving people who may not be able to take a lot of heat -- I happen to be one of them. To me it was spicy enough this way, but feel free to add as much as you like.

As you can imagine, setting up a Thanksgiving buffet is a bit frantic, so I didn't have time to take a good picture of the casserole. You'll just have to take my word for the fact that this is a very tasty and easy side dish. I assembled mine the day before, and baked it up on Thanksgiving Day. Undoubtedly you could do the same thing for Christmas. This one's a keeper, I loved it, and I know that you will too.
 
Aunt Nance's Jalapeño Corn Casserole
From Love, Welcome, Serve by Amy Nelson Hannon

4 tablespoons (one half stick) unsalted butter
1 cup chopped celery
1/2 cup chopped yellow onion
8 ounces Velveeta, diced*
1 (15-ounce) can whole corn, drained
2 (14.5-ounce) cans cream-style corn

1 cup cooked white rice
10 to 12 jarred jalapeno slices, chopped, plus 2 to 3 tablespoons jalapeno juice
2 tablespoons sugar

Preheat the oven to 350° F.

In a large saucepan, melt the butter over medium low heat. Add the celery and onion, and sauté until tender. Add the diced Velveeta, stirring constantly until melted. Add all the corn, the cooked rice, jalapenos and juice, and sugar. Stir well. Pour the mixture into a 9" x 13" baking dish or oval casserole and bake for 30 minutes.

*I used 6 ounces because it was all I had, and it was just fine.


This post is linked to:

This post contains affiliate links.