Showing posts with label barbecue. Show all posts

Tuesday, August 20, 2024

Oven Baked Ribs with Onions and Lemon

 
Not too long ago, I got it into my head that I wanted to have ribs for dinner. I didn’t want to grill them outside because I knew that was a rather lengthy, hands-on process, and the weather was hot. I also didn’t want to make them the way my mother used to because hers, while tender and tasty, looked more anemic than I generally like. So, I consulted my good friend Alycia from Tablescapes at Table 21 and she told me how she did hers. It is a simple process, you can season them up the way you like, and spend your day on other chores while they bake away in the oven. Having done this successfully on numerous occasions, yet still waxing nostalgic for my mother’s ribs, I decided to mix things up and combine Alycia’s technique with my mother’s recipe, and I think this is the best yet.Oven Baked Ribs

 2 to 2 ½ pounds baby back pork ribs

Salt and black pepper

Rib rub

1 lemon, thinly sliced

1 Melissa’s sweet onion, thinly sliced

1 12-18-oz. bottle your favorite Barbecue Sauce

 Preheat oven to 350° F. Line a 9” x 13” pan with heavy duty foil, allowing significant overhang in order to fold over the ribs. Scatter lemon and onion slices along the bottom of the pan, reserving a few for the top. If it hasn’t been done, remove the thin membrane from the back of the ribs.

 Rub the ribs thoroughly, front and back, with the rib rub, and gently lay on top of the slices of lemon and onion. Pour entire contents of bottle of barbecue sauce over the ribs to coat, and scatter reserved lemon and onion slices over the top.

 Loosely close the foil around the ribs, slide into the oven for to bake for 3 hours. After about two hours in, baste with sauce. At the 2½-hour point, open the foil to allow the sauce to caramelize a bit. At the end of three hours, remove from oven, place ribs onto a serving platter and serve.

As an Amazon Associate I earn from qualifying purchases.

Sunday, May 26, 2019

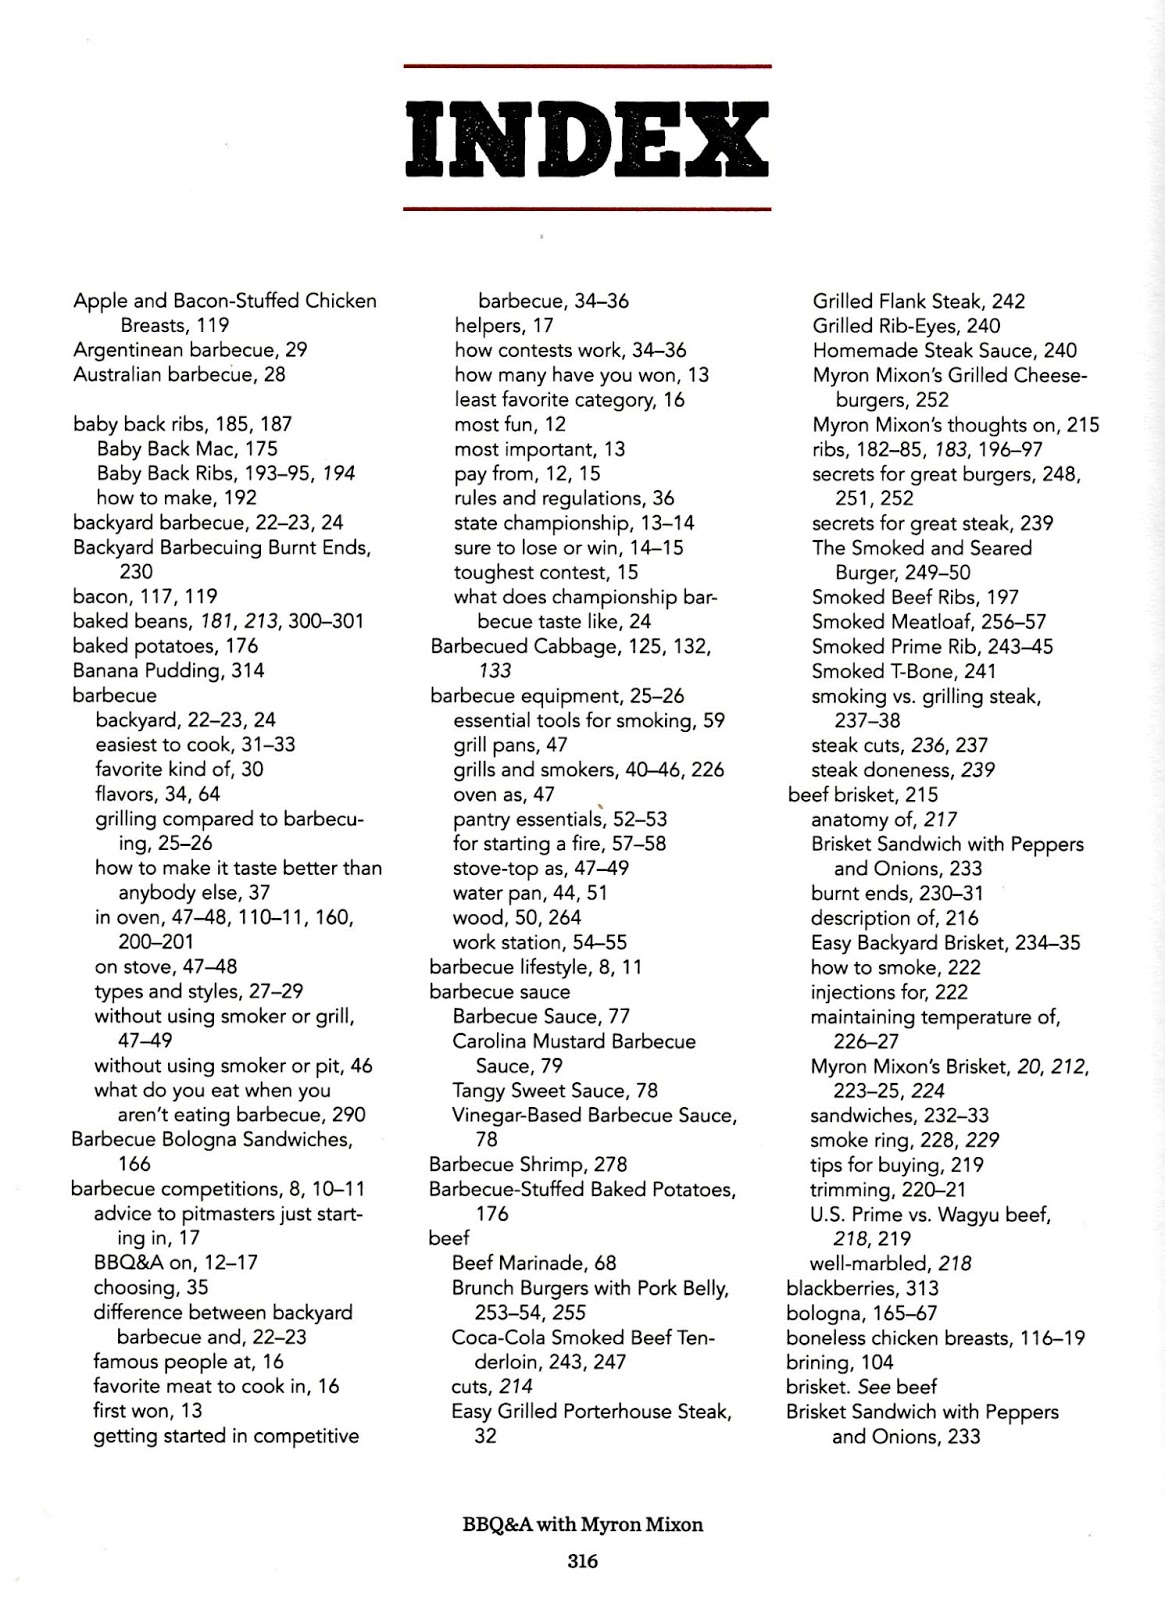
BBQ&A by Myron Mixon, Reviewed

Mr. O-P was the grill master in our house and he had a lot of barbecue books upon which he relied. I am truly sorry that he is not around to see this one, because I’m sure it would quickly become his new favorite. BBQ&A by Myron Mixon tells you everything you ever wanted to know about barbecue. This book is the Bible, my friends. If you know absolutely nothing about grilling, barbecuing, different cuts of meat, how to treat those different cuts of meat, how to smoke, how to make sauces, how to serve, even how to butcher a hog, this book is going to tell you.
You will learn the difference between smoking on a smoker and smoking in a pit. You will learn the different kinds of barbecue, and what they are. You will also find within some of the most amazingly delicious smoking and barbecuing recipes around. In addition to recipes for meaty main dishes, you will also get delicious ones for side dishes like coleslaw, corn bread, and baked beans (the peach baked beans are amazing!). You will even find recipes for wonderful desserts.
On Friday I shared his recipe for basic barbecue sauce, but you will also find recipes for vinegar-based barbecue sauce, tangy sweet sauce, and Carolina mustard barbecue sauce. Personally, it’s worth the price of the book alone to get the recipes for the sauces. There are also recipes for chicken and pork glazes, both of which are super good. If you like meat rubs like I do, you will find many in here.
With Father’s Day just around the corner, this book should be on your “must buy” list. Dad is going to love it, but if he isn’t the one at the grill or in your house, buy a copy for yourself. You can get a copy by clicking here.


This post contains affiliate links.

Disclaimer: I was provided with a complimentary copy of this book by Abram Publishers as a part of Abrams Dinner Party of which I am a member.

Tuesday, May 14, 2019

Coco Loco Rib Rub

I don’t consider barbecue season to be officially open until after Memorial Day, although once the heat sets in you will find me out at the grill no matter the date, even if I’m only cooking a hotdog.

At the beginning of each barbecue season, I mix up a batch of steak, rib, chicken, and hamburger rub to have on hand. This is my special rib rub, and I think you’ll enjoy it a good bit. It adds a lot of flavor to whatever cut of pork that you happen to be cooking. I call it “rib rub” because that’s what I use it on the most, but it also works exceptionally well on the pork steaks and pork chops.
Coco Loco Rib Rub (Also works for chops)

1/2 cup light brown sugar, packed
2 tablespoons paprika
2 tablespoons garlic powder
1 teaspoon chili powder
1 teaspoon onion powder
1 tablespoon kosher salt
1 teaspoon black pepper
1 teaspoon espresso powder
2 teaspoons ground cumin
1/2 teaspoon ground ginger
Pinch cayenne pepper, optional

Combine all the ingredients in a medium mixing bowl. Use approximately 1/4 cup of rub per half rack of ribs. Store the rest in an airtight container. Keeps for up to six months.

Coffee Rub for Beef is an incredibly luscious rub as well. I use it on everything from burgers to filet mignon.


This post contains affiliate links.


Tuesday, July 17, 2018

Delicious Beef Burgers


​Grilling season has been upon us for some time, but in my case, it has been way too hot to grill. Still, it is National Grilling Month, and I could not resist the call of the burger. I made up a number of them to grill early in the morning before it got too hot, slathered them with barbecue sauce, simmering them in that same sauce in the oven later in the day before enjoying them between two slices of toasted bun.
I think this is probably the most delicious grilled burger I have ever eaten (if I do say so myself). It’s a wonderful combination of tastes, and while you may question the inclusion of mushrooms, particularly those of you who don’t like them, let me tell you that they impart a wonderful flavor to the burger while adding moisture at the same time. If you have ever eaten a grilled burger that was bone dry, it’s because it didn’t have enough moisture, and some cuts of beef just don’t. Adding mushrooms to the meat before you form it into patties and grill it, gives it moisture without fat. It’s mighty good.
Delicious Beef Burgers

2 lbs. ground chuck
4 crimini mushrooms, finely diced
1 tablespoon Worcestershire sauce
1 tablespoon Dijon mustard

Break ground chuck apart over a large bowl. Add remaining ingredients and gently mix together until everything is incorporated. Grill until interior of burger reaches at least 160°F. Slather with the barbecue sauce of your choice. This one is my favorite.

If keeping cool and making your barbecue indoors is how you prefer it, you can’t go wrong with this Crockpot Barbecued Beef!


This post is linked to:

Monday, April 24, 2017

Jalapeño Corn Fritters


One of the things I say when I describe myself to people is that I'm nocturnal. It's not something that I particularly want to be, it's just something that I am. From the time I was a little girl, and used to read Nancy Drew books with a flashlight under the covers of my bed, I've always known that I was a late night person. Unfortunately, I also enjoy early morning, and this adds up to not getting a whole lot of sleep. I try to let my body tell me how much sleep I need, and this generally means that I'm up every night until one or two. Nighttime, I find, is my most creative time.


Last night I went to bed around two, and was shocked when I looked at the clock this morning. I figured that there must have been a problem with the clock battery because the clock read noon! Yeah, 12 o'clock. High noon. I couldn't believe I had slept 10 hours. As a consequence, I feel great today. Little tidbits of the flu still hang on, but I feel like I have my old energy back, so was thrilled to get into the kitchen.

The first thing I did was tackle the five ears of corn that my dad had given me. They had been in the fridge for a long time, and I was afraid of losing them. I was in the mood for something spicy, easy, and that would suit for brunch, because, let's face it, if you're eating breakfast in the afternoon, the best you can call it is brunch.

Long ago I’d seen a recipe for fresh corn fritters, and decided to come up with my own version. I’d husked, cleaned, and stripped all of the kernels off of the cobs earlier in the week (I was so exhausted that it, seriously, took me all day), put the cops into a freezer bag, and stuck them into the freezer for making corn stock later. (Be sure to always save corncobs, unless you've gnawed on them, to use in stock. It makes a huge difference in potato, corn, and other similar chowders.)


I set some of the corn aside, and measured out 2 cups. From there I seeded a vacuum-sealed, roasted jalapeno -- a new product from Melissa's Produce. (You are going to go crazy over this one! Melissa's packages roasted jalapenos. They’re vacuum sealed, and it makes adding smoky heat to dishes so darned easy. You have the wonderful roasted jalapeno taste, they are easy to seed, they chop like a dream, and I have been stirring these into absolutely everything, from my scrambled eggs in the morning, to soups and broths in the afternoon, to mashed potatoes in the evening. This is my new favorite Melissa's product. Yep, move over Fire Roasted Sweet Red Bell Peppers.)

The recipe for these fritters is below. Honestly, you and the entire family are going to love them. They are lightly seasoned, the taste of the corn comes through, there's a little bit of heat and smokiness from the jalapenos, and they make a great snack. Not only did I have them as an afternoon snack, okay, okay brunch, breakfast, whatever, but the next morning those that were left over I served alongside a fluffy mound of scrambled eggs. What a great summer dish this is going to be for your barbecues! Try them. I'm not kidding.

Jalapeño Corn Fritters


2 beaten large eggs
1/4 cup flour
2 tablespoons grated Parmesan
1/2 teaspoon kosher salt
½ teaspoon ground cumin
2 cups fresh corn kernels
1 thinly sliced scallion
1 finely chopped, seeded, Melissa’s Roasted Jalapeño
2 tablespoons vegetable oil
Salt
Sour cream, chopped cilantro, and lime wedges, to garnish

Whisk together eggs, flour, Parmesan, salt, and cumin to combine. Add corn kernels, scallion, and 1/2 finely chopped seeded jalapeño; whisk to incorporate.

Heat oil in a large nonstick skillet over medium heat. Working in batches, cook heaping tablespoonfuls* of batter until golden brown, about 4 minutes per side; season fritters with salt. Serve with sour cream and lime wedges.

*I found that a big soup spoon works best for this. I tried one of those cookie scoops, but that made a right mess.

This post is linked to:

Friday, May 20, 2016

Green Bean Salad


When I was younger I loved going to school; when school wasn't in session I played school. In college I took classes every semester they were offered -- spring semester, winter semester, intersession, summer semester.  If classes were offered, I took them, and, in the doing, I built up a pot-load of credit hours. So much so, in fact, that I defied categorization and, eventually, they asked me if I would just graduate and leave. It was with great reluctance that I did, and I felt set adrift when it came time to sign up for coursework again. Not daring to show my face on the university campus, I grabbed a course catalog from the local community college, and signed up for a couple of extension classes, one of which was Gourmet Barbecue.

Looking back, I can't imagine what possessed me to take this class. I was the only young, single female in a class of, largely, forty-year-old men and their wives. As you can imagine, I was quite popular with the men, not so much with their wives. All's well that ends well, however, once they realized I was actually there to learn, and not shopping for a husband. I ended up learning quite a lot about grilling, and came away with a vast array of recipes. In addition to learning specialty grill recipes, we were also provided with side dishes suitable for whatever main dish we were working on that week. One of my favorites was this green bean salad. Mother loved it as well because the two of us were absolutely ga-ga over green beans, liking them so much that we would often eat them right from the can.

This recipe, a product of the late seventies, calls for canned green beans, but it is so much better when using fresh, and even more fun when using a variety of interesting beans as I have done here using both yellow and purple (they turn green when you cook them -- kids love to watch these)
wax beans from Melissa’s Produce. Use whatever you like to make this salad colorful and interesting, and in keeping with your family’s tastes. Serve it chilled or at room temperature. It makes a great addition to picnics, barbecues, salad bars, or serves as an excellent side dish.

Green Bean Salad

1 lb. fresh string or wax beans, trimmed, blanched, and cooled
1 pint cherry tomatoes, halved
½ red onion, thinly, and I’m talking THINLY, sliced
1/3 cup shredded Parmesan cheese
Homemade croutons (or store bought, if you must)
Italian Dressing

Toss together beans, tomatoes, onion, and Parmesan cheese, and refrigerate, covered, for an hour, or up to eight hours. When ready to serve, add croutons and dress with your favorite Italian dressing or vinaigrette.  Personally, I use low-fat Italian dressing and love it in this recipe.


 This post contains affiliate links.

Tuesday, May 10, 2016

Pork Steak Rub


My time is generally not my own, but I managed to grab a few hours over the weekend, pulled the cover off of the grill, and fired it up for the first time this season. I hadn't planned on turning any of this into a blog post (hence the excruciatingly bad photos), but I made the most delicious pork rub that I just had to share.

What I made were pork steaks that both we and dad enjoyed over the course of two days. If you're not from the St. Louis metro area, pork steaks may be foreign to you. They are simply steaks sliced from a whole pork butt, cooked “St. Louis-style,” which has come to mean
“grilled and sauced.”"

If you haven't tried a pork steak, it is probably time that you did, but, if not, this rub will work on any pork-y thing that you plan to grill.

You can dial the heat up or down according to your tastes, but I found this to be spot on. Coat your pork steaks on all sides with the rub, place them in the fridge, covered, and let them hang out for 4-8 hours. Then sear both sides on the grill, hmmm, about 3-4 minutes per side until they look like the bottom photo, then put them into a roasting pan (I just used a 9” x 13” baking pan), douse them liberally with your favorite barbecue sauce, cover the pan tightly with foil, put them into a 300-degree oven, and forget about them for three hours. During the last half hour of cooking, if the sauce is too runny, remove the foil, and let it thicken up a bit.

At this point you can plate them, or refrigerates them to warm up the following day. Personally, I thought ours were significantly better on the second night.
 
Pork Steak Rub 
(Enough for 4 large pork steaks)


 1 tablespoon smoked paprika
1/2 teaspoon espresso powder
1/2 teaspoon dry mustard
1/2 teaspoon cumin
1/2 teaspoon chipotle powder
1-1/2 teaspoons dark brown sugar
1-1/2 teaspoons Kosher salt
1-1/2 teaspoons garlic powder
1-1/2 teaspoons freshly ground black pepper
1/4 teaspoon chili powder
3/4 teaspoon onion powder
Pinch of cayenne

Whisk all ingredients together in a small mixing bowl.  Rub liberally over pork steaks 4-8 hours prior to grilling.

Mix keeps for 2 months.


This post is linked to: