

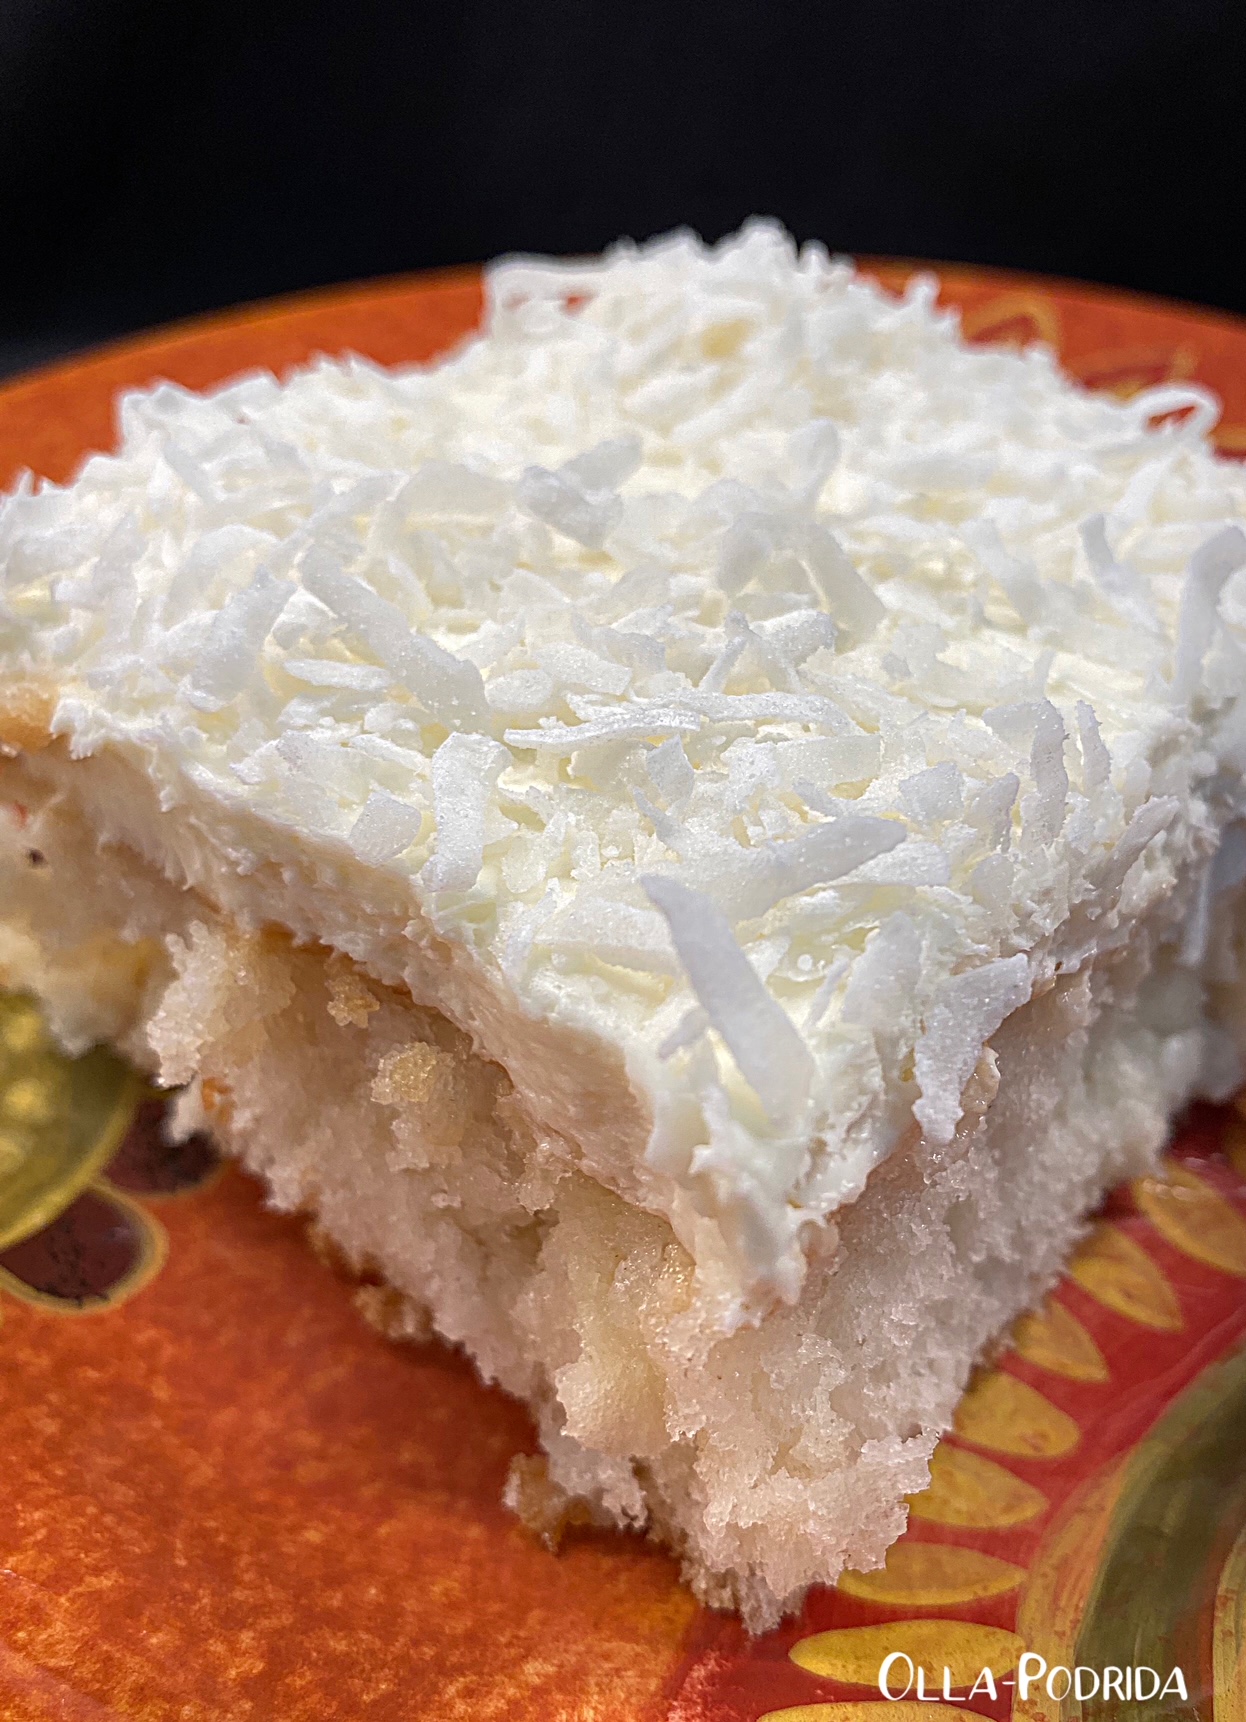
 Coconut Tres Lèche with a Kick
Cake:
1 (15.25- oz) box white cake mix
Ingredients on box to make the cake (oil, egg whites, water)
1 t. coconut extract
½ c. flaked coconut
1 (14- oz) can sweetened condensed milk
1 (15- oz can) Cream of Coconut*
¼ c. coconut rum
Coconut Cream Cheese Frosting:
8 oz. cream cheese, room temperature
1 c. powdered sugar
1½ c. heavy whipping cream
2 T. coconut rum
½ t. coconut extract
½ c. flaked coconut to garnish, optional
Preheat oven to 350°F. Spray a 9”x13” baking dish with Baker’s Joy; set aside.
Prepare cake according to package directions, adding in 1 teaspoon coconut extract and ½ teaspoon clear vanilla flavorings with the liquids. Fold ½ cup flaked coconut into batter and then spread into prepared pan.
Bake according to package directions. Cake is done when an inserted toothpick comes out clean.
While cake is baking stir together sweetened condensed milk and Cream of Coconut; set aside. When cake is done, poke holes evenly all over the top using a large fork while it’s still hot. Immediately pour sweetened condensed milk mixture evenly on top of cake, and allow cake to cool completely.
To prepare frosting: In a bowl of a stand mixer fitted with a whisk attachment mix cream cheese and powdered sugar together until smooth. Add in heavy cream and extract and mix on medium-high speed until stiff peaks form. Spread frosting onto cooled cake and garnish with flaked coconut.
Chill cake for at least 2 hours before serving. Store airtight in the refrigerator for up to 3 days.
* If you used 2 tablespoons of cream of coconut out of this can to make yourself a delicious Nashville Bushwhacker, that’s not a problem. It works just as well with 13 ounces as it does with 15 ounces.
As an Amazon Associate I earn from qualifying purchases.


