Showing posts with label freezes. Show all posts

Monday, June 24, 2024

Peach Coffee Cake

 
I’ve tried to convince myself over the years that I am not a baker, but occasionally I just get the urge to bake, ergo, at least according to number two son, I am indeed a baker. Today he was coming over to hang out with his old mom. I love that my adult son still likes to come hang out with me. As a consequence, I decided that today would be the perfect day to experiment with a peach coffee cake, because I knew that he would enjoy being my taste tester, and give me an honest opinion.
By the time he arrived, the house was scented with cinnamon and toasted pecans. We could hardly wait to dig in, but I knew, considering the moist filling, that the cake was going to have to cool thoroughly before I could cut into it. I think that was the longest hour of our lives.
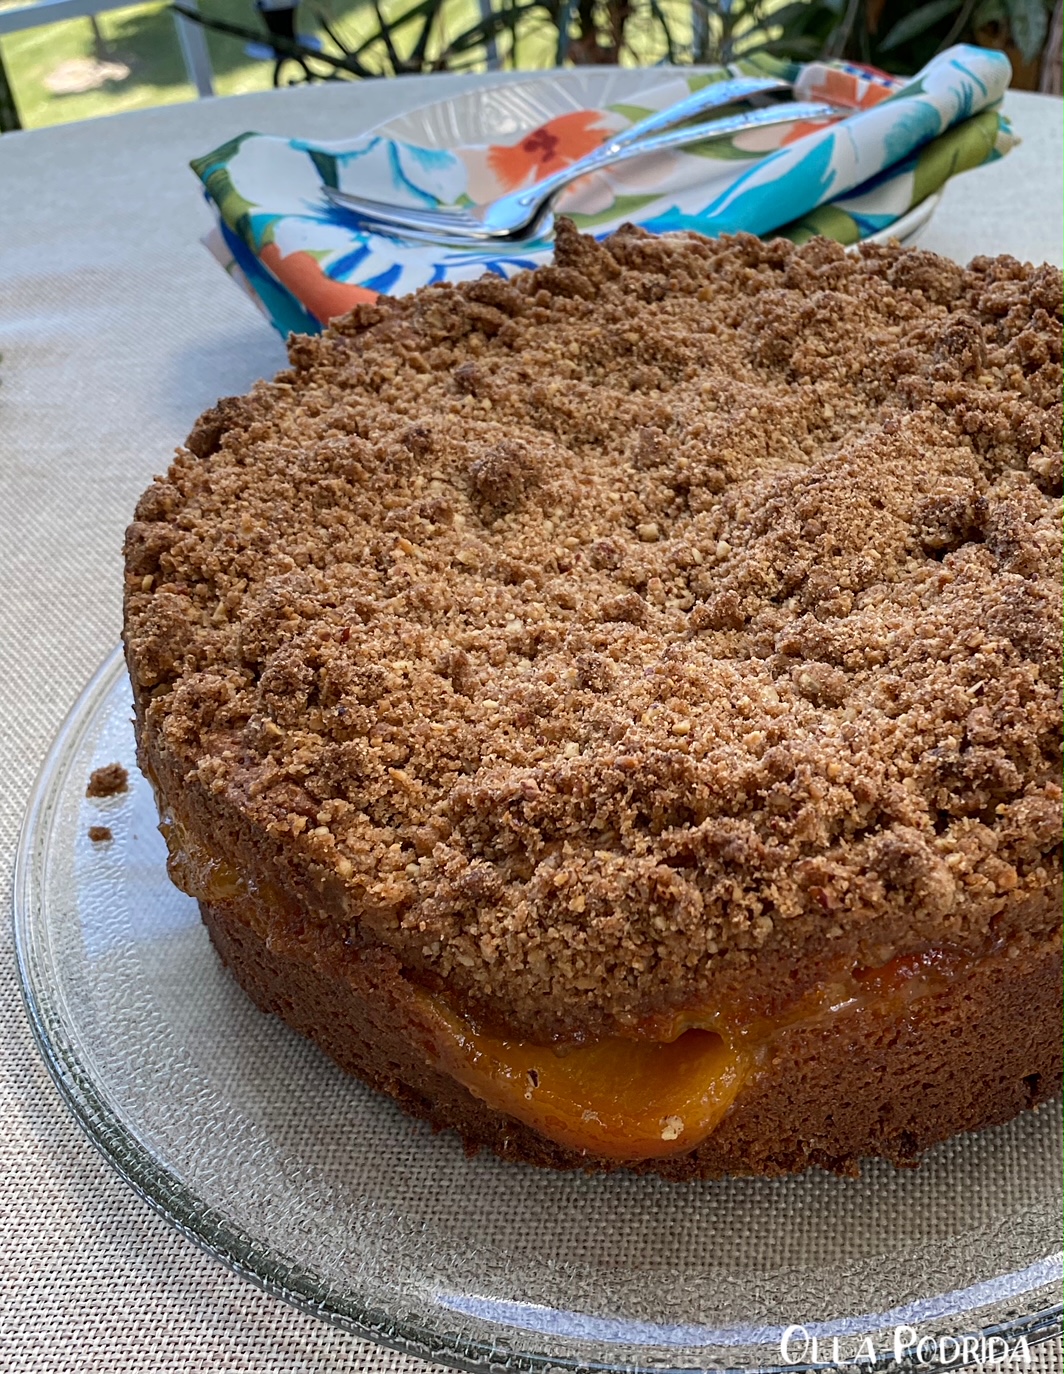
 
We both absolutely loved it! This is a coffee cake, so the cake itself isn’t as sweet as a dessert cake, making it perfect for breakfast. The peach filling is absolute heaven, as is the streusel topping. This is a must try.Peach Coffee Cake

For cake:

2 c. flour

2 t. aluminum free baking powder

½ t. aluminum free baking soda

1/8 t. salt

½ c. butter, room temperature

1 c. sugar

2 large eggs, room temperature

1 c. sour cream

1 t. vanilla extract

1 21-oz. can peach pie filling

Streusel Topping:

1 c. flour

½ c. firmly packed dark brown sugar

½ c. pecans

6 T. butter, cut into pieces and softened

1 t. cinnamon

¼ t. freshly grated nutmeg

 Make streusel: In a food processor pulse together streusel ingredients until combined well and crumbly; set aside.

Preheat the oven to 350°F. Spray the bottom and up the sides of a 9-inch springform pan with Baker’s Joy; set aside.

In a medium bowl, whisk together flour, baking powder, baking soda, and salt; set aside.

 In the work bowl of a stand mixer, cream butter and sugar until light and fluffy, 5-7 minutes. Turn the mixer to low and beat in eggs one at a time just until incorporated. With the mixer still on low, add sour cream and vanilla, then add flour mixture in 2-3 intervals, beating just to combine.

 Spread half of the batter in the prepared pan. Top with peach pie filling, spreading to within a half a spreading to within a half inch of the side of the pan. Dollop the rest of the batter over the peaches, spreading to cover.

 Bake for 55-60 minutes or until a toothpick inserted in the center comes out clean. Allow the cake to cool for 15-20 minutes on a wire rack before removing the springform pan sides.

 Because of the fruit filling, this does not keep. What you don’t eat the first day, slice up and freeze. It freezes beautifully.

 *Be sure to spread the dough to the edges. I dampened my hands in order to do so.

As an Amazon Associate I earn from qualifying purchases.

Tuesday, January 16, 2024

Walnut Mushroom Bolognese

I found it ironic that this recipe came from a magazine called Real Simple. This recipe is anything but simple. It’s not difficult, mind you, but between toasting the walnuts, and being in need of a food processor, it cannot be made by everyone. On the plus side, it is unique and flavorful, can be adapted to suit your needs (as I did with the inclusion of fresh garlic, as well as swapping out the half-and-half for heavy cream), makes a lot, and freezes beautifully. It is wonderfully sophisticated, complex, and perfect for a cold winter evening.

Walnut Mushroom Bolognese

Adapted from Real Simple

 1 lb. cremini mushrooms

1 c. toasted walnuts

1 yellow onion, quartered

1 medium carrot, chopped

1 medium stalk celery, chopped

1 clove garlic

6 T. olive oil, divided

1¼ t. kosher salt, divided

½ c. dry white wine

1/3 c. tomato paste

2 c. vegetable stock

¼ t. freshly ground black pepper

½ c. heavy cream

1 lb. fettuccine, prepared according to package direction

Grated Parmesan, for serving

 Working in 2 batches, pulse mushrooms in a food processor until finely chopped. Transfer to a bowl. Add walnuts to food processor; pulse until finely chopped. Transfer to a medium bowl. Add onion, carrot, celery, and garlic to food processor; process until very finely chopped.

Heat ¼ cup oil in a large skillet over medium-high. Add mushrooms in an even layer; cook, undisturbed, until browned in spots, about 8 minutes. Season with ½ teaspoon salt, toss, and cook for 1 minute. Transfer to bowl with walnuts. Reduce heat to medium. Add remaining 2 tablespoons oil to skillet. Stir in onion mixture and ¼ teaspoon salt; cook, stirring often, until mixture is golden and almost dry, 10 to 12 minutes. Stir in mushrooms and walnuts. Add wine; cook until absorbed, 2 to 3 minutes. Add tomato paste; cook, stirring, until combined, about 5 minutes. Add stock; simmer over low, stirring once or twice, until sauce is very thick, 35 to 40 minutes. Add pepper, remaining ½ teaspoon salt, and heavy cream; cook, stirring, for 2 minutes.
 
Toss pasta with desired amount of sauce. Serve with cheese. 

 Place any remaining sauce in an airtight container; refrigerate for up to 3 days or freeze for up to 3 months.


Thursday, September 2, 2021

Crunchy Chicken Noodle Casserole

This post contains affiliate links.

I read an article once on how to prepare yourself and your house for Christmas and avoid exhaustion. This miracle plan began the first week in September, and continued up until days before Christmas. It involved cleaning one room per week, making one appetizer or cookie per week, and making one casserole per week, all of which were supposed to be put into the freezer to pull out later as needed. So, if someone were to drop in unannounced, you had appetizers to pop into the oven on hand. When holiday decorating and shopping became frantic, you could pull a casserole out of the freezer to feed yourself or your family. Because you had been deep cleaning your house, one section at a time since September, all it needed during the heat of the holiday season was light dusting and a run of the vacuum. Cookies? No problem! You have a freezer full of them ready to be baked or thawed.

It sounded like such a good idea that I tried it. By the third week I was exhausted. No way could I keep up with such a hectic schedule while maintaining my current lifestyle. Had I continued, I can tell you one thing, this casserole would have been one that I’d have made. It goes together easily, makes use of various pantry staples, and other things that are often found on hand, and it’s tasty and comforting. I won’t ask you to give the holiday prep plan a try, but do take a chance on this casserole. You won’t be sorry.


Crunchy Chicken Noodle Casserole

1 c. dry
medium egg noodles
1 c. shredded cooked chicken
1 14.5-oz. can corn
1/2 c. whole milk
1 can cream of chicken soup
1/2 c. minced onion

1/2 c. minced Melissa’s roasted red bell peppers
1 clove garlic, minced
1 c. shredded Gruyere cheese
4 slices bacon, cooked and crumbled
3/4 c.
French fried onions
Salt and Freshly ground black pepper, to taste

Cook egg noodles according to package directions; drain and set aside.

Preheat oven to 350°F. Spray a
1.5 quart casserole dish with Pam. In a medium bowl, combine egg noodles, chicken, corn, milk, soup, shallot, peppers, garlic, cheese, bacon, and salt and pepper. Pour into prepared casserole dish. Sprinkle French fried onions evenly on top and bake for 30 to 35 minutes until hot and bubbly.