
I think about my late husband every day, but never so much as in
January, which would have been his birthday month, and today his birthday. He
loved a good loaf of bread, and not a week would go by where I wouldn't find him
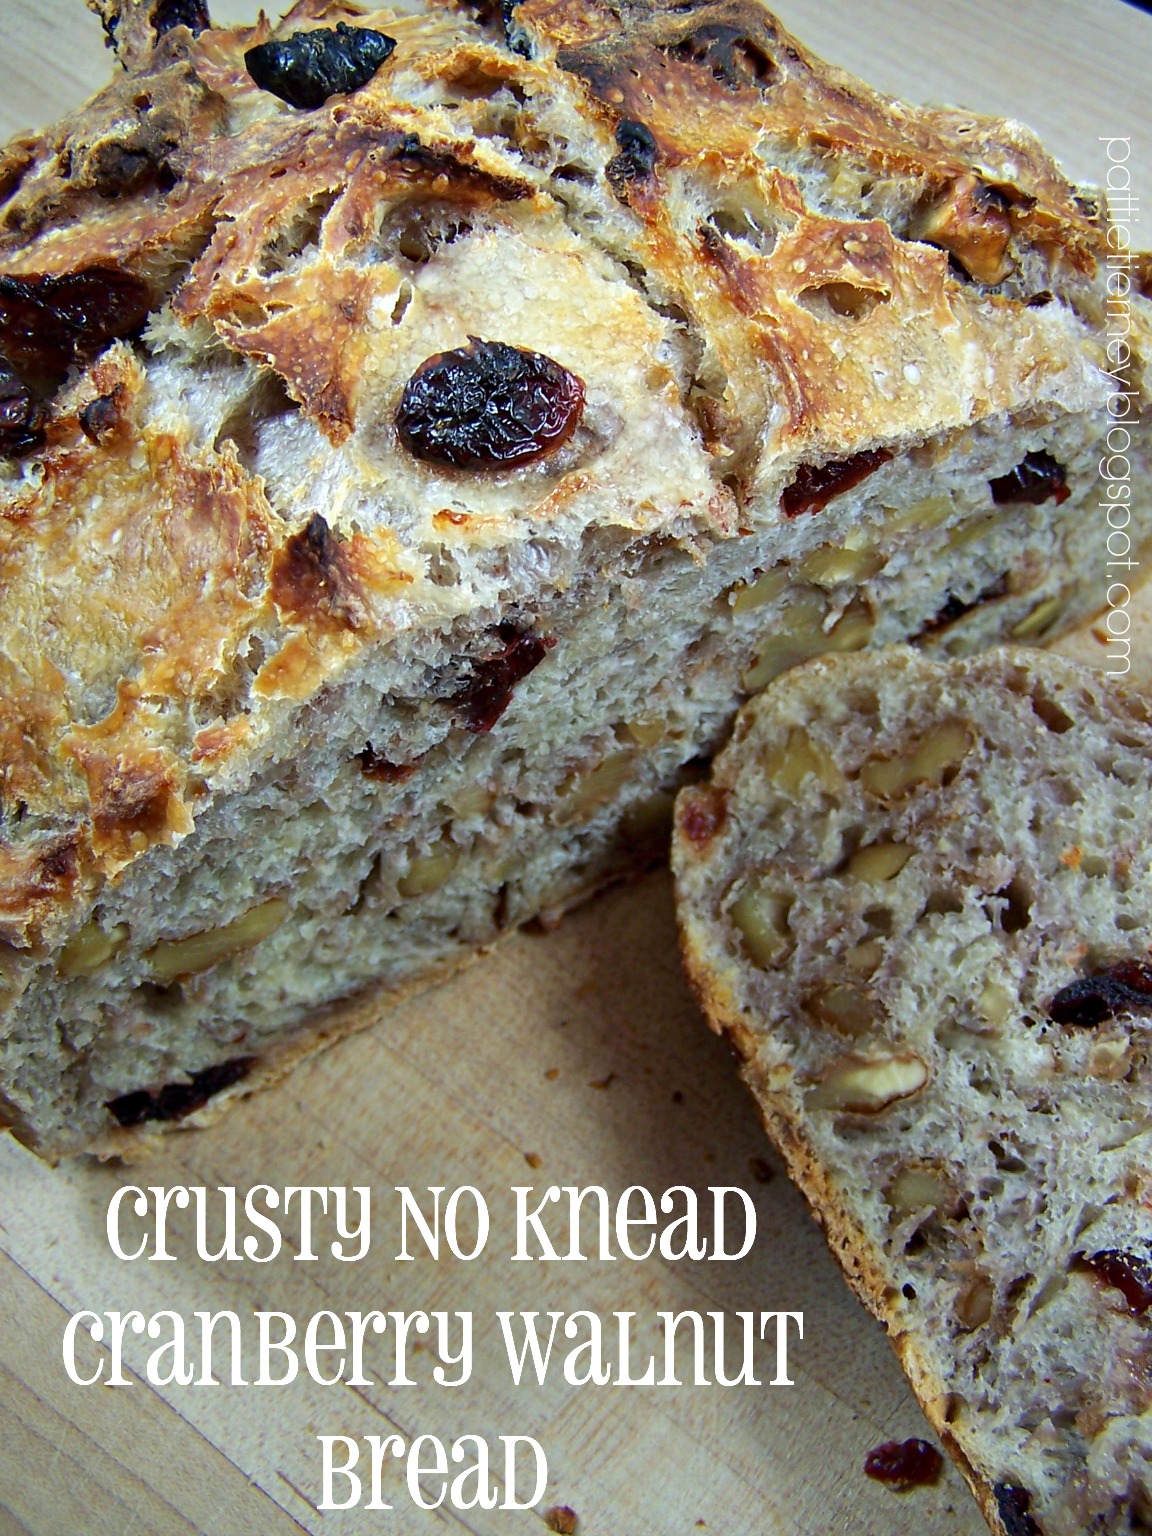
buying a loaf or two from one of the local bakeries. He liked it with a crispy exterior and a dense and chewy interior. I don't know if it was because I was
thinking about him that caused me to make this bread, or because I was just in
the mood for dense and chewy home-baked goodness. Either way, when I spotted this recipe I knew I
had to give it a try.

The recipe may seem long, but it is very simple to put together. It also yields
spectacular results! Honestly, I could not believe it. I had a slice this
morning, spread with softened cream cheese, and it was as good, if not better,
than any bread I've had from one of the top local bakeries. The fact that I
made it at home astounds me. I can tell you that this is going to be the
starting point for other fruit/nut/seed varieties that I plan to make. If the
thought of making bread seems daunting to you, you need to try this one. The
fact that it requires no kneading and precious little work will have you making
it again and again.
Happy Birthday, Jim! I miss you, sweetie.

Crusty No Knead Cranberry Walnut Bread
Adapted from Sally's Baking Addiction
3 cups + 2 Tablespoons all-purpose flour,
plus more for hands
2 teaspoons kosher salt
1/2 teaspoon granulated yeast
3/4 cup chopped walnuts
3/4 cup Melissa's dried cranberries
1 Tablespoon honey
1 ½ cups warm water (about 95°F)
Stir the first 6 ingredients together in a
large bowl. Stir in the warm water. The dough will be pretty sticky. Don't be
tempted to add more flour, sticky is what you're going for. Gently shape into a ball
as well as you can. Cover tightly with plastic wrap. Set on the
counter at room temperature and allow to rise for 12-18 hours. I tend to keep
my house on the cool side (62° during the day and 55° at night) so mine took
the entire 18 hours. You'll know the dough is ready when it doubles in size and
sticks to the side of the bowl. The top should be covered with air bubbles.
Turn the dough out onto a lightly floured
work surface and, using lightly floured hands, shape into a ball. Transfer dough to a large piece of parchment paper.
Using a very sharp knife, gently score an
“X” into the top. Cover dough lightly with plastic wrap and set aside while
you preheat your oven.
Place your covered Dutch
oven into your oven and preheat
it to 475° F. When your oven comes up to temperature, set a timer for 30
minutes. After 30 minutes, remove the Dutch oven from the oven, remove the
plastic from the top of your bread dough, and carefully place the dough
inside by lifting it up with the parchment paper and sticking it all-- the
parchment paper included-- inside the pot. Cover with the lid.
Bake for 25 minutes with the lid on.
Carefully remove the lid and continue baking for 8-10 more minutes until the
bread is golden brown. Remove pot from the oven, carefully remove the bread
from the pot, and allow to cool on the counter for 30 minutes before serving.
Cover and store leftover bread at room
temperature for 1 week.

This post
is linked to:
This post contains
affiliate links.